How to remove kitchen cabinets?
Well, it depends on the way they are attached to the support on which they are mounted,
And the method varies a little with each different attachment style, so there is no definitive answer to this question.
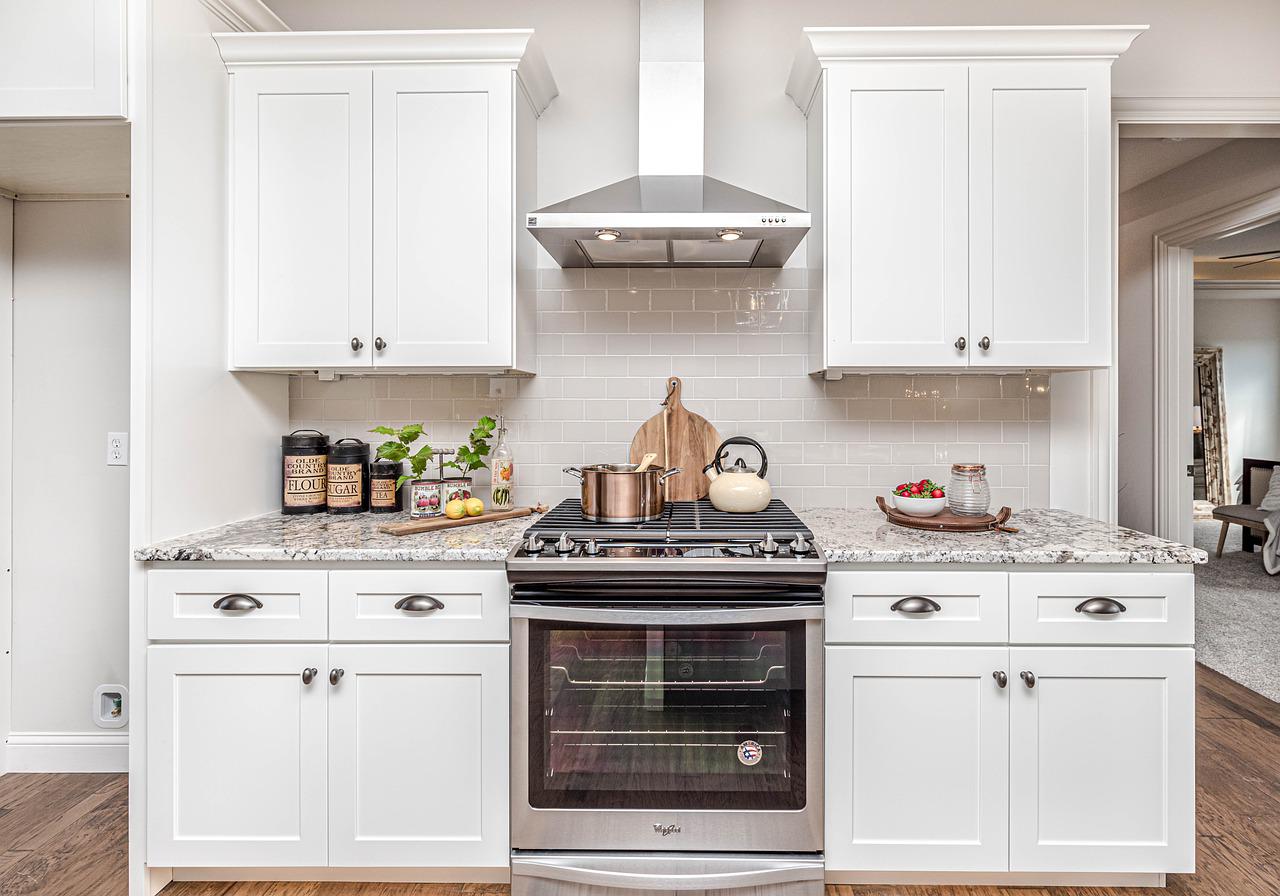
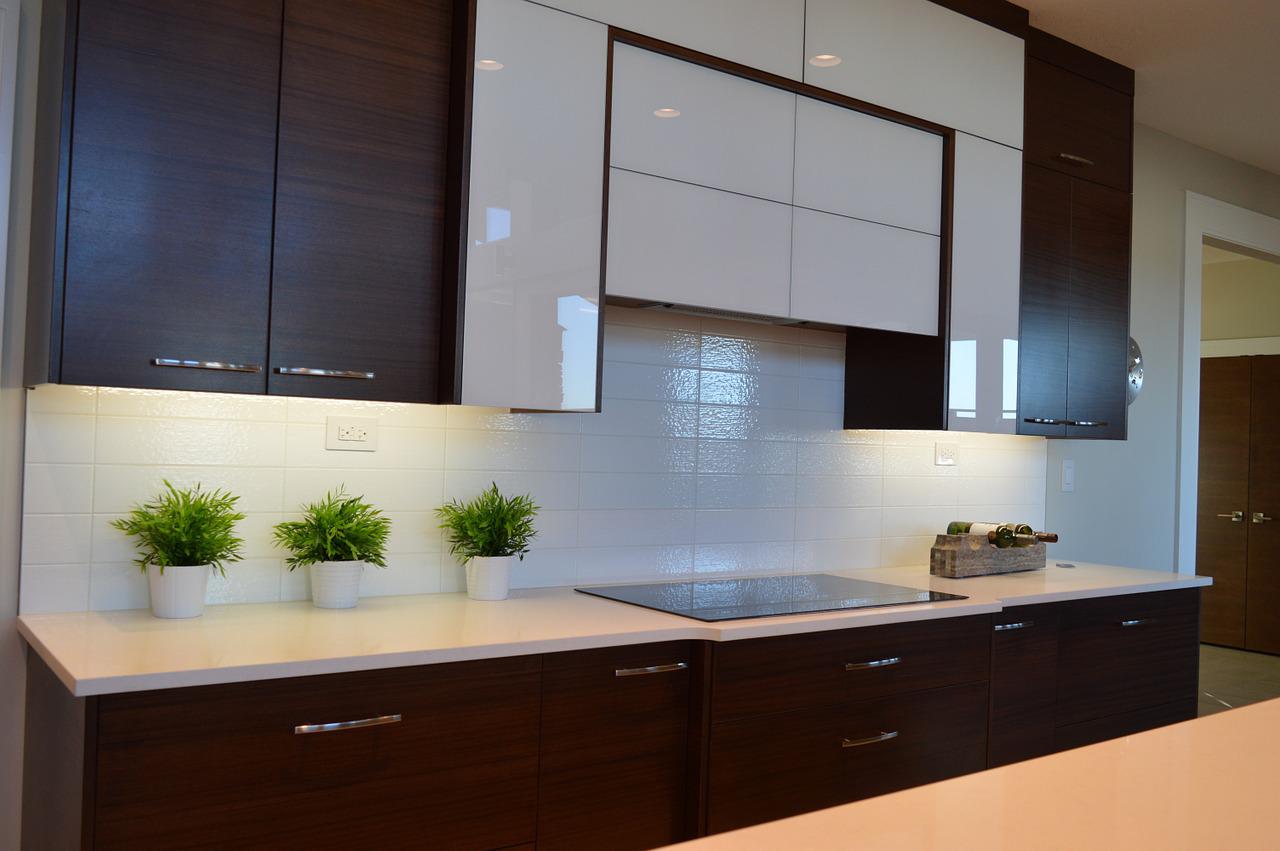
Cabinets are one of the most important elements in a kitchen.
Remodeling them can give an entirely new look to the most frequently used room of your house.
Also, remodeling has benefits that extend way beyond the looks as it increases your home value.
A revamp can extensively improve the workflow in the kitchen with increased storage options, more safety, and reduced energy consumption.
With the many pros of a remake, there are some cons as well.
Like it can be highly stressful and time taking and one such task is of removing your kitchen cabinets.
So, to ease it for you here we are going to discuss all of your concerns and ways regarding the removal of your kitchen cabinets.
Tools Needed to Remove Kitchen Cabinets
Here is a list of the tools you will need to begin with;
- Drill
- Hammer
- Gloves
- Goggles
- Scraper
- Utility Knife
- Putty Knives
- A Voltage Detector Pen
- Wrench
- Measuring Tape
- Pry Bar
- A helping hand
How to Remove Upper Kitchen Cabinets
Removing kitchen cabinets is often the first step in a kitchen remake.
Below are the steps listed to make the process easy for you;
Pre Cabinet Removal Preparation
Take care of the following steps to avoid any damage before the start of the removal phase.
Prepare the space for demolition
First of all, you need to empty the kitchen cabinets.
Transfer all of your utensils to a safe place, and cover them up so they don’t catch dust.
Clear your countertops so the removal process can take place swiftly.
Cut off the electricity supply
While removing the cabinets you may come across electrical outlets and have to remove them from your way.
So to keep yourself safe from any shocks cut off the electricity supply of your kitchen.
Cover the countertops
If you plan to reuse the countertops then cover them up to save them from any debris also put a thick sheet over it to cover up.
However, if you are going to dispose of the countertop, then no need to cover it up.
Removing the external elements
Trims and moldings are usually loosely attached and have no contribution in attaching the cabinet to the wall so they can come off pretty easily.
You can use either a hammer or a crowbar to remove them.
Trims and moldings can’t be reused so it’s okay if they get damaged during prying.
Wear gloves while taking off the trims to avoid getting bruised from staples or splinters.
Removal Phase
When you are done with all the pre-removal prep, it’s time to do the actual removal of the upper kitchen cabinets;
Establish support
Establishing support is essential as it will aid in holding the cabinets and prevent any damage to the cabinets in case there is a slip of hands while removing them.
For the size of the supports, measure the distance between the bottom and the countertop.
We need four pieces of lumber each to be placed at each corner of the cabinet.
These pieces of wood will only give momentary support, so it’s better to have a helping hand to help you in the removal process.
Disassembling the cabinets
Now, as the supports are established it’s time to disassemble the cabinets.
Start by removing the doors of the upper cabinets.
You can use a drill or a screwdriver in this step.
Make sure to hold on to the door while you unfasten the last screw.
It’s better to use gloves and goggles while using a drilling machine.
Take out the shelves next, while each cabinet has a different mechanism, most of the time the cabinets are just placed on top of the plugs of the walls of the cabinet.
So just lift the shelves and pull them out.
As the doors and shelves are out of the way so now the empty cabinets are left only.
In some cases, cabinets might be locked together with screws.
To find it out check on the inside of the cabinets.
If you find any screws, remove them before proceeding to detach the cabinets from the walls.
Detaching the Upper Cabinets
The cabinets are fastened to the drywall with a row of screws.
It’s usually across the top where the screws are, check out there.
Use a drilling machine to run the screw in opposite direction to remove it.
You might find some screws holding the cabinet in the bottom as well.
This is the time to use a helping hand to hold the cabinets while you remove the last screw.
Repeat the same procedure for all the upper cabinets.
How to Remove the Lower Kitchen Cabinets Without Damage

The process of removing the lower cabinets is pretty much the same as the upper cabinets with a few extra steps;
Turning off the water supply to the sink
To remove the lower cabinets you will have to remove the countertop, as the base cabinets are usually attached to the counter.
It implies that the sink needs to be removed as well and for that, the water supply to the sink must be cut off.
Remove the drawers of the lower cabinets
Empty and remove the drawers to the lower cabinets for the ease of pulling out the cabinets.
Remove the sink or dishwasher
- Double-check if the water supply is turned off and carefully remove all the pipes and lines attached to the sink.
- Then detach the sink from the countertop.
- Then using a helping hand, lift it and keep it out of the way.
Removing the Counter
In most cases, the cabinets are attached to the countertop.
It becomes necessary to remove the countertops before removing the lower cabinets.
To carry out this step, take a look inside the cabinet and look for any screws fastened on the upper inner side of the cabinet.
These are the ones attaching the bottom cabinet to the countertop.
Unscrew all of them to detach the countertop.
If you are planning to reuse the countertop be very careful while lifting and removing it.
Unfasten screws to detach the cabinets
The bottom cabinets aren’t usually screwed together but it’s necessary to check.
Take a look at the inside of the cabinet and see if there are any screws fastened there.
If you find any, then unscrew them to separate the cabinets from each other.
Then find the screws that are attaching the cabinets to the walls and unscrew them.
Remove the cabinets
After all the screws are unfastened then try to remove the cabinets slightly, take them out and place them aside.
If on applying effort the cabinet still won’t move, there is a possibility that you might have missed a screw.
Look for any missed screws, unfasten them and try to remove the cabinet again.
Repeat the same process with the other bottom cabinets.
How to Remove Kitchen Cabinets that are Nailed
Nailed Cabinets are usually the ones that are built-in rather than being installed afterward with screws.
In that case, they are nailed and fixed to the wall.
The pre-removal phase of removing the nailed cabinets is the same as the screwed ones.
So after you are done with the preparation phase now you have to look for the spots where your cabinet is nailed.
Pulling out nails can be hard so here is a way.
You will need a Putty knife, a Nail Puller, and a Hammer.
Slid the putty knife under the nail and fix the nail puller in the nail, then tap the nail puller with a hammer.
This will move the nail puller upwards along with the nail and the nail will be removed without damaging the cabinet.
Check for all the places where the cabinets are nailed and remove all the nails carefully.
Make sure that the cabinet is held by a helper while removing the last nails.
How to Remove Kitchen Cabinets that are Glued
Establish support or take the help of a helper to hold the cabinet while removing it or else it will thrash on the counter or the floor.
Now as the cabinet is glued to the wall.
Take the start from a side and wedge the pry bar between them (the wall and the cabinet).
Try to pry over a stud directly to save the drywall from damage.
Try to slightly move the cabinet in all directions and the cabinet will come out.
How to Remove Kitchen Cabinets for Reuse
You need to make this decision before starting the process of removing the kitchen cabinets.
If you decide to reuse the cabinets, still the process will remain the same.
You will need to be a little more careful with unscrewing and removing the cabinets.
So if you plan to reuse the cabinets, save the loose screws and hinges that are unfastened from the removed cabinets in a container for reuse.
How to Remove Kitchen Cabinets from the Floor
Cabinets that are attached to the floor can be removed using the same process as discussed above.
First of all, empty the cabinets, and transfer all the utensils to a safe place to avoid any damage.
Then remove the external decorative holdings.
A pry bar and a claw hammer can be used to remove the trim and moldings.
On removing the moldings you will be able to see if the cabinets are attached to the countertop if there is any.
Then in that case the countertop also needs to be removed.
Now see for any wiring and plumbing that needs to be removed.
Make sure that the water and electricity supply is cut off for that part of the house.
After cutting the electricity and water supply now proceed to take off the countertop of the cabinets attached to the floor.
You might need a helping hand in removing it.
Now you can disassemble the cabinets.
Look for the points where the cabinets are screwed and unfasten them using a drill or a screwdriver.
Once all the screws are unfastened then remove the cabinets and put them aside.
Follow the same process for the rest of the floor cabinets.
How to Remove Cabinets Attached to the Ceiling
In the case of cabinets attached to the ceiling first, you have to figure out if the cabinet is attached through screws or is glued.
In both cases first of all establish support; it is better to use a helping hand, in this case, to avoid the cabinets from falling to the ground or the counter.
Empty the cabinets and remove any usable stuff from the space.
Then take the pry bar and insert it in the space between the ceiling and the cabinet.
Try to insert the pry bar from all the sides and make sure that the support is intact under the cabinets or a person is holding them from underneath.
Slowly take the cabinets down and put them aside.
How Much to Remove the Kitchen Cabinets
Renovating the kitchen significantly adds to the value of your house.
But to renovate you first need to demolish or remove the old parts or cabinets.
Removal of kitchen cabinets costs different in different areas.
For 25 feet of cabinets on a linear dimension, the removal can range from $450 to $1000 {Source}.
If you are planning to do it yourself, then the only cost you will bear will be the debris removal or disposal.
It will take a lot of time and effort but it will be a lot cheaper.
Related Reading: How To Keep Painted Cabinets From Chipping – Get To Know Here.
Summing It Up
Cabinets are one of the most important elements of your kitchen.
The renovation or remodeling of the most used part of your home starts with the removal of the cabinets.
Here we have discussed all the important points regarding the removal of your cabinets.
Hopefully, now beginning with your remodeling will not look as intimidating.


