
Sponsored
How to Smoke a Thanksgiving Turkey: Steady Heat, Juicy Meat & Less Guesswork
- Indirect heat
- Two temperatures to track
- Done at 165°F
- 20-minute rest
Smoking the Thanksgiving turkey frees up the oven for casseroles and gives dinner a gentle wood-fired flavor. The part that needs attention is keeping the cooker steady while the turkey cooks through without drying out the breast.
A little preparation helps. Start with a fully thawed bird, cook over indirect heat, and monitor the cooker and the meat separately. With those basics covered, you can spend less time lifting the lid and more time getting the rest of dinner ready.
1. Thanksgiving Turkey Recipe – Preparation
Choose a turkey that fits.
Choose a turkey that fits your cooker with space around it for hot air to circulate. A smaller whole bird is easier to position than one that fills the cooking chamber.
Check the lid clearance before the holiday, especially if you plan to use a roasting rack and pan.
Build in time for the whole cook.
Work backward from dinner. Include thawing, seasoning, preheating, cooking, and about 20 minutes for resting before carving.
Leave room in the schedule for cold weather or a slower-than-expected cook.
Thaw in the refrigerator.
USDA refrigerator-thawing guidance allows approximately 24 hours for every 4 to 5 pounds in a refrigerator at 40°F or below.
- A 12-pound turkey generally needs about three days.
- Keep it on a tray to catch drips.
- Once thawed, cook within one to two days.
Season and prepare the bird.
Pat the turkey dry and season with salt, black pepper, garlic, and thyme. Check the packaging first: an injected, self-basting, or pre-brined bird may need little or no extra salt.
If dry-brining an unseasoned turkey overnight, keep it refrigerated on a rack in a tray. Protect it from contact with other food and stay within the thawed-storage window.
- Do not rinse raw poultry.
- Remove the neck and giblets, and leave the cavity unstuffed.
- Cook stuffing separately.
- Keep the turkey chilled until you are ready to prepare it for the cooker.

2. Set Up Your Smoker for Steady, Indirect Heat
Arrange indirect heat.
Prepare the cooker outdoors according to its instructions. Clean the cooking area, check the fuel supply, and keep the turkey away from direct flame.
On a charcoal cooker, that may mean using a heat deflector or banking the coals to one side.
Choose a temperature for your equipment.
- Pellet grill designed for roasting: about 350°F for a hotter, wood-fired roast.
- Conventional smoker: USDA guidance uses a smoker temperature of 225–300°F.
These approaches have different cooking times, so choose one before planning your day.
Preheat and let the heat settle.
Preheat with the lid closed before adding the bird. Use cooking-grade wood suitable for your cooker; pecan is one option for a mild smoke flavor.
Follow the manufacturer’s fuel instructions. Only add wood where the appliance is designed to accept it.
Position the turkey and check the gauge.
Place the turkey breast-side up on a sturdy rack over a drip pan if your cooker allows it.
- Leave room for air to move around the bird.
- Avoid blocking the heat path with an oversized pan.
- Support a disposable foil pan securely when moving it.
If adding a ProTemp S1, check the thermometer opening, stem length, and internal clearance before installation.
Its reading comes from the installed sensor location. A lid reading may differ from the temperature beside the turkey; check the cooking area with a suitable grate thermometer when needed.
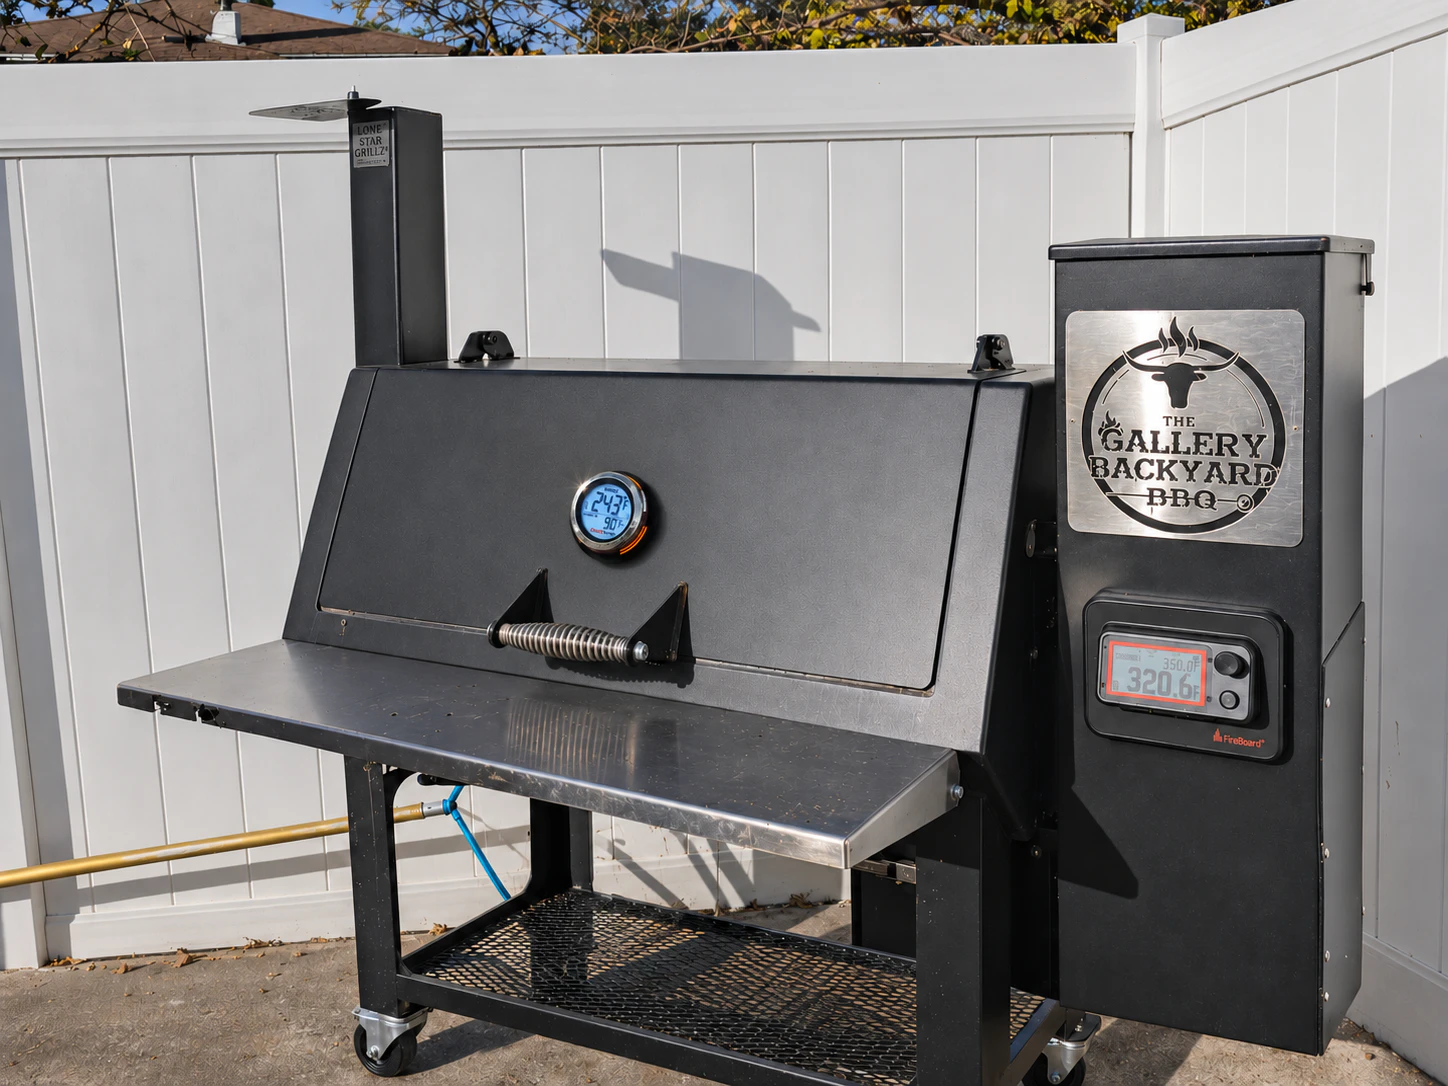
3. Track Two Temperatures: The Cooker and the Turkey
Watch the cooker and the meat separately. They answer two different questions:
- Cooker temperature: Is the cooking heat staying on course?
- Internal meat temperature: How far has the turkey cooked?
The ChefsTemp ProTemp S1 brings cooker-temperature readings and alerts to the ChefsTemp App over supported Wi-Fi or Bluetooth connections.
- S1: monitors temperature at the installed cooker sensor.
- Optional wireless meat probe: measures the turkey’s internal temperature alongside the cooker reading. Compatible probes are sold separately.
- Optional Breezo V2 fan: regulates airflow on compatible charcoal cookers to help manage pit temperature.
A fan is not needed for the pellet-grill method described here. Check the cooker adapter and power requirements before choosing a setup.
| What to watch | What it tells you | What to do |
|---|---|---|
| What to watchCooker temperature | What it tells youWhether the cooking heat is holding steady | What to doCheck fuel and airflow if a change persists. |
| What to watchInternal meat temperature | What it tells youHow the turkey is progressing | What to doUse it to judge doneness, then verify several locations. |
| What to watchApp connection and alerts | What it tells youWhether remote monitoring is available | What to doTest before cooking and keep checking the cooker in person. |
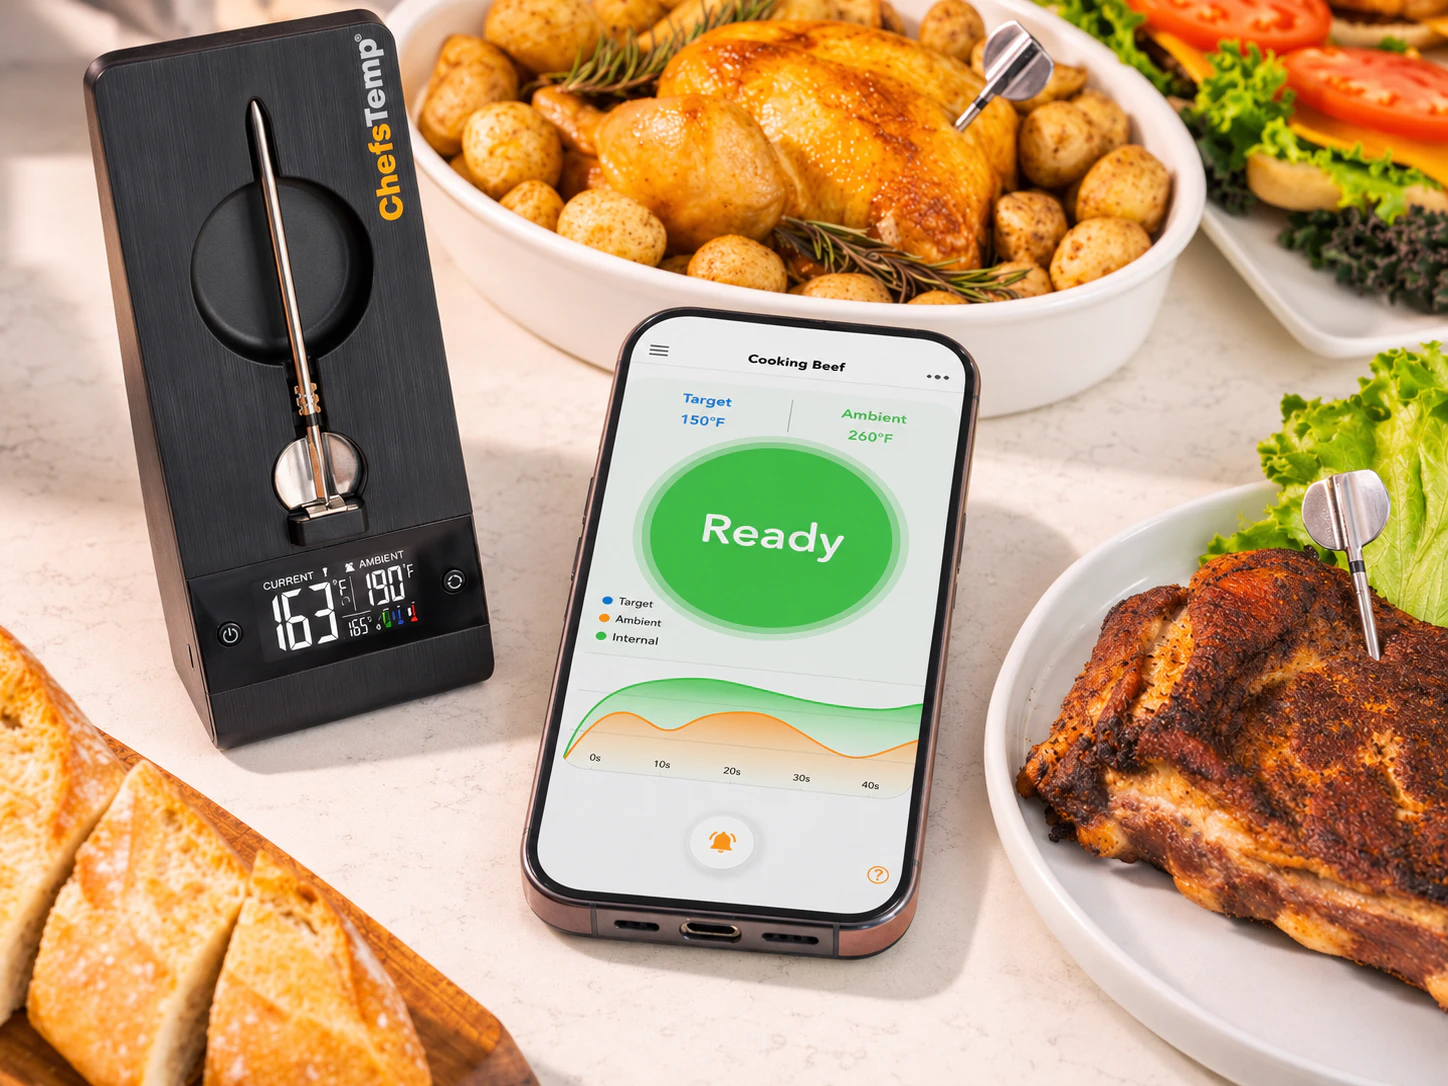
Place the meat probe.
Insert it into the thickest part of the breast, avoiding bone and the cavity. Follow its minimum insertion depth and heat limits.
Test the App before cooking.
Confirm that the App shows a plausible reading and that notifications reach your phone.
Monitor while preparing the sides.
Remote monitoring makes it easier to check progress while preparing nearby side dishes.
Keep the cooker supervised, stay within a reliable connection, and check fuel and outdoor conditions throughout the cook.
4. Use Time to Plan—and Temperature to Finish
Use time as a planning estimate.
Bird size, starting temperature, weather, and the actual heat at the rack can all change the finish time. A lower-temperature smoke needs a different schedule from a 350°F roast.
For conventional smoking at 225–300°F, USDA guidance gives a rough estimate of 20–30 minutes per pound. A 12-pound bird may take approximately four to six hours.
This is a planning range, not a promise. Do not apply it to the hotter pellet-grill method.
Make adjustments only when needed.
- Keep the lid closed between necessary checks.
- Rotate the pan carefully if one side browns faster.
- Baste only if you wish; repeated lid opening interrupts the cooking heat.
- If the breast skin browns deeply before the meat is ready, cover that area loosely with foil and continue cooking.
Verify doneness in several locations.
As the turkey approaches its target temperature, prepare a clean carving board and finish the sides.
Use a food thermometer to check each of these locations without touching bone:
- The thickest part of the breast.
- The innermost part of the thigh.
- The innermost part of the wing.
Each location must reach at least 165°F, following USDA guidance.
A single leave-in probe cannot confirm every part of a whole turkey. Check both sides where practical, and continue cooking if any required location is below 165°F.
Brown skin, clear juices, and a pop-up indicator are not enough to confirm doneness.
5. Rest, Carve and Bring Everything to the Table
Rest for about 20 minutes.
Transfer the cooked turkey to a clean board or platter. Tent loosely if needed; wrapping tightly traps steam against the skin.
Use the resting interval to warm the gravy and bring the vegetable dishes to the table.
Carve and serve.
- Remove the legs and wings.
- Lift the breast meat from the bone and slice across the grain.
- Serve on a warm platter with gravy alongside.
Store leftovers promptly.
Refrigerate leftovers in shallow containers within two hours, or within one hour if the outdoor temperature is above 90°F.
If dinner is delayed, keep the cooked turkey at 140°F or above rather than leaving it on the counter.
For future cooks, choose monitoring equipment around the grill you already own. ChefsTemp’s S1 bundles by grill type are a starting point.
Check the listed probes, fan, and accessories in the specific bundle before ordering.
Frequently Asked Questions
Can I smoke a turkey straight from frozen?
No. Fully thaw the turkey before smoking, following USDA guidance. Thaw it in the refrigerator, allowing about 24 hours for every 4–5 pounds, then remove the neck and giblets before cooking.
Should I use 250°F or 350°F to cook a turkey?
Use the method your cooker supports:
- Around 250°F falls within USDA’s conventional smoking range.
- 350°F suits a hotter indirect roast on equipment designed for it.
Use the matching cooking schedule and verify 165°F in the required locations.
How can I avoid dry turkey breast?
Monitor the breast temperature, avoid unnecessary lid opening, and check doneness as the bird approaches 165°F. Once all required locations reach that temperature, remove the turkey rather than continuing to cook for a preset number of hours.
Does the ProTemp S1 measure the meat by itself?
The S1 monitors cooker temperature. Internal meat monitoring requires a compatible optional wireless probe. Check what is included in your chosen package before Thanksgiving.
Do I need a temperature-control fan?
A fan is optional for a compatible charcoal setup. A pellet grill already manages its own fuel feed and heat. Choose accessories for your cooker, and continue supervising it even when temperature control is automated.