
Easy Pumpkin Pie Filling Recipe From Scratch With Real Pumpkin
One sugar pumpkin, one cream-and-egg custard and a crisp crust, with every amount, temperature and time the same on the card as in the steps.
- Roast400°F, 45–60 min
- Blend1 to 2 minutes
- Drainuntil a spoon stands
- Bake325°F, 50–65 min
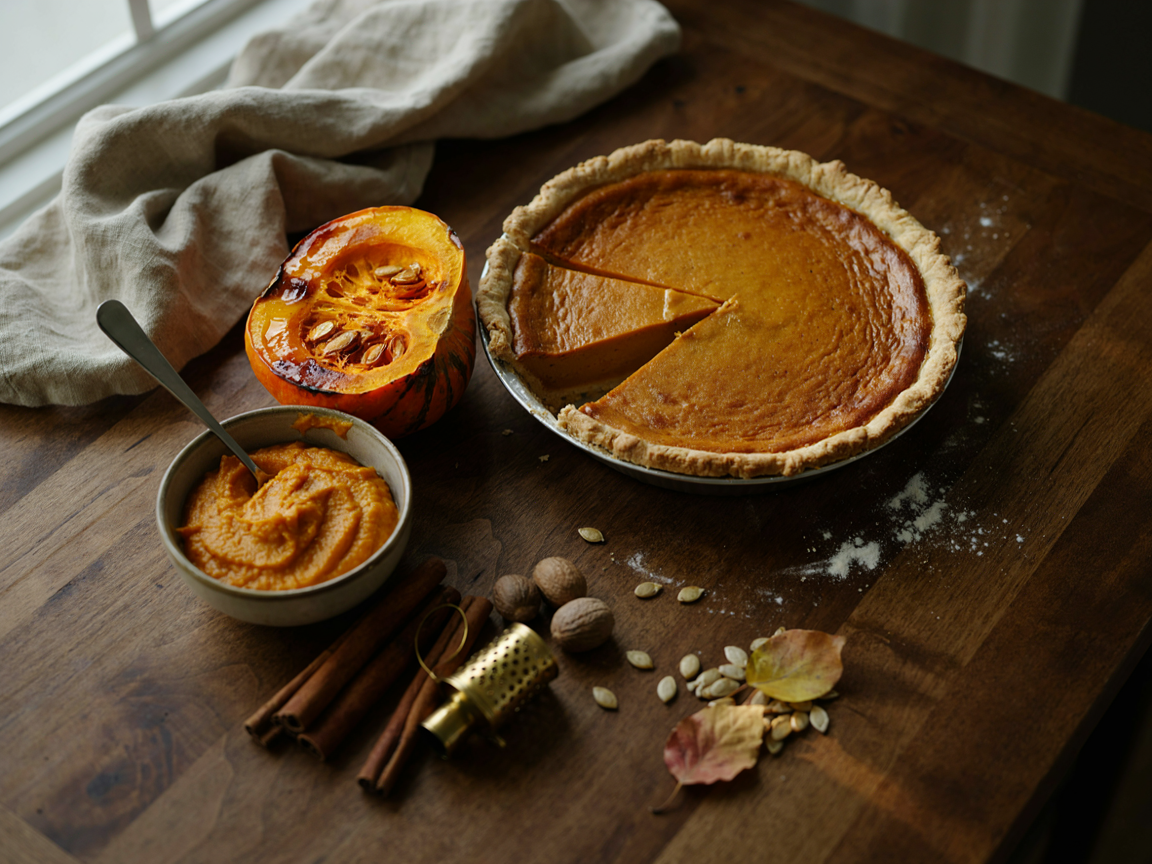
Pumpkin to pie on one table: a roasted sugar pumpkin half, a bowl of drained purée and the finished pie, one slice already out.
This easy pumpkin pie filling recipe from scratch starts with a real sugar pumpkin, not a can. Roast it until soft and sweet, blend it smooth and drain it thick, then whisk it into a cream-and-egg custard and bake it low in a crisp, blind-baked crust.
Quick answer
Roast a halved 2-lb sugar pumpkin cut side down at 400°F, 45 to 60 minutes. Blend, drain until thick and measure 1¾ cups. Whisk in ¾ cup brown sugar, spices, salt, 2 eggs plus a yolk, ¾ cup cream, ¼ cup milk and alcohol-free vanilla. Bake in a blind-baked 9-inch crust at 325°F for 50 to 65 minutes. Serves 8.
Short on time or pumpkins? The same filling works with one 15-oz can of pumpkin purée, and the swap is spelled out below. For the classic evaporated-milk filling, baked hot and then low in an unbaked crust, see the canned-purée version.
Why This Easy Pumpkin Pie Filling Recipe From Scratch Works
Roasted, never boiled
Dry oven heat drives water out of the pumpkin and caramelizes its edges, so the purée tastes sweeter and deeper. Boiled or steamed pumpkin soaks up water, and water is what makes a filling weep or refuse to set.
Drained to canned thickness
Fresh purée holds more water than canned. A short rest in a lined sieve brings it to the same spoon-standing thickness, so the custard sets at the same time and temperature every year.
Cream, milk and an extra yolk
Three-quarters of a cup of cream with a splash of milk makes a softer, silkier custard than evaporated milk, and the extra yolk adds richness and a tender set that still slices cleanly.
Low oven, crisp crust
The crust is blind-baked first, so it stays crisp under a wet filling. Then a gentle 325°F oven sets the custard slowly from edge to center, the easiest insurance against cracks.
One recipe, pumpkin to pie: the card, the steps and the quick answer use the same amounts, oven temperatures and times. For the whole pie, homemade crust included, see this guide to pumpkin pie from scratch with real pumpkin.
Homemade Pumpkin Pie Filling Recipe From a Real Pumpkin
The card is set for one 9-inch pie; tap 2 pies and every amount and step changes to match. It covers both jobs: turning a sugar pumpkin into thick purée, then turning that purée into filling.
Easy Pumpkin Pie Filling From Scratch
A silky, lightly spiced custard made from a roasted sugar pumpkin, with cream, an extra yolk and a crisp blind-baked crust. Tap 1 or 2 pies and every amount changes.
How many pies?
Ingredients
For the roasted purée- 12 small sugar or pie pumpkin, about 2 lb (900 g)small sugar or pie pumpkins, about 4 lb (1.8 kg) in all
- 1 tsp2 tsp neutral oil, for brushing
- 1¾ cups (425 g)3½ cups (850 g) drained roasted pumpkin purée, from above
- ¾ cup (165 g)1½ cups (330 g) packed dark brown sugar
- 1 tsp2 tsp ground cinnamon
- ½ tsp1 tsp ground ginger
- ¼ tsp½ tsp freshly grated or ground nutmeg
- ⅛ tsp¼ tsp ground cloves
- ½ tsp1 tsp fine salt
- 1 pinch2 pinches finely ground black pepper (optional)
- 2 large + 1 yolk4 large + 2 yolks eggs, at room temperature
- ¾ cup (180 ml)1½ cups (360 ml) heavy cream
- ¼ cup (60 ml)½ cup (120 ml) whole milk
- 1 tsp2 tsp alcohol-free vanilla
- 12 single 9-inch pie crust, chilled in its platesingle 9-inch pie crusts, chilled in their plates
- whipped cream, to serve
No sugar pumpkin? Use one 15-oz (425 g) can of 100% pumpkin per pie and start at step 4. Crust: homemade or store-bought; for a halal pie, pick an all-butter or vegetable-shortening crust and check the label. Room-temperature eggs and dairy mix smoothest.
Instructions
Roast the pumpkin
Heat the oven to 400°F (200°C). Halve each pumpkin through the stem, scrape out the seeds and strings and brush the cut sides with oil. Roast cut side down on a parchment-lined sheet for 45 to 60 minutes, until a knife slides in easily.
Blend it smooth
Cool 15 minutes, then scoop the flesh from the skin. Blend or process 1 to 2 minutes until completely smooth, scraping down once. A masher works too; press the mash through a sieve for a silky pie.
Drain to canned thickness
Spoon the purée into a sieve lined with paper towels or cheesecloth, set over a bowl. Drain 30 to 60 minutes, until a spoon stands up in it. Measure 1¾ cups (425 g)3½ cups (850 g) and freeze any extra.
Blind-bake the crust
Line each chilled crust with parchment and fill with pie weights or dried beans. Bake at 400°F for 15 minutes, lift out the weights and bake 5 minutes more, until dry and just set. Lower the oven to 325°F (165°C).
Whisk sugar, spice and pumpkin
Whisk the brown sugar, spices, salt and pepper in a large bowl, breaking up any lumps. Add the drained purée and whisk until smooth and evenly colored. Taste now and adjust the spice.
Add the eggs and dairy
Whisk in the eggs and yolk, then the cream, milk and alcohol-free vanilla. Stir gently rather than beating: air bubbles rise and crack the top. For the smoothest surface, press it through a fine sieve.
Bake low and slow
Set each crust on a baking sheet and fill to just below the crimp. Bake at 325°F for 50 to 6555 to 70 minutes; shield the edge with foil if it browns before the center sets.
Pull it at the wobble
It is done when the edge is set and matte and a 2- to 3-inch circle in the center wobbles as one piece. The center reads 175°F (80°C) on an instant-read thermometer.
Cool, then chill
Cool on a rack away from drafts for 2 hours, then refrigerate at least 2 hours more. Slice cold with a hot, dry knife and serve with whipped cream.
How Much Purée Does a Sugar Pumpkin Make?
Weigh the pumpkin whole when you buy it. As a rule of thumb, each pound gives a little under a cup of drained purée, and one pie needs 1¾ cups (425 g).
| Sugar pumpkin, whole | Drained purée | Enough for |
|---|---|---|
| Sugar pumpkin, whole2 lb (900 g): one small pumpkin | Drained puréeabout 1¾ cups (425 g) | Enough for1 pie |
| Sugar pumpkin, whole3 lb (1.4 kg) | Drained puréeabout 2½ to 2¾ cups | Enough for1 pie, plus about a cup for muffins or oats |
| Sugar pumpkin, whole4 lb (1.8 kg): two small pumpkins | Drained puréeabout 3½ cups (850 g) | Enough for2 pies |
| Sugar pumpkin, whole6 lb (2.7 kg) | Drained puréeabout 5¼ cups | Enough for3 pies |
| Sugar pumpkin, whole8 lb (3.6 kg) | Drained puréeabout 7 cups | Enough for4 pies |
Yields are approximate: a watery pumpkin loses more in the sieve, and a dense kabocha loses less. Weigh after draining, and if a pumpkin comes up short, top it up with canned purée.
Tools for Pumpkin Pie Filling From Scratch
A sheet pan, a blender and a whisk will do. These make the purée smoother and the pie more reliable.
As an Amazon Associate, this site earns from qualifying purchases.
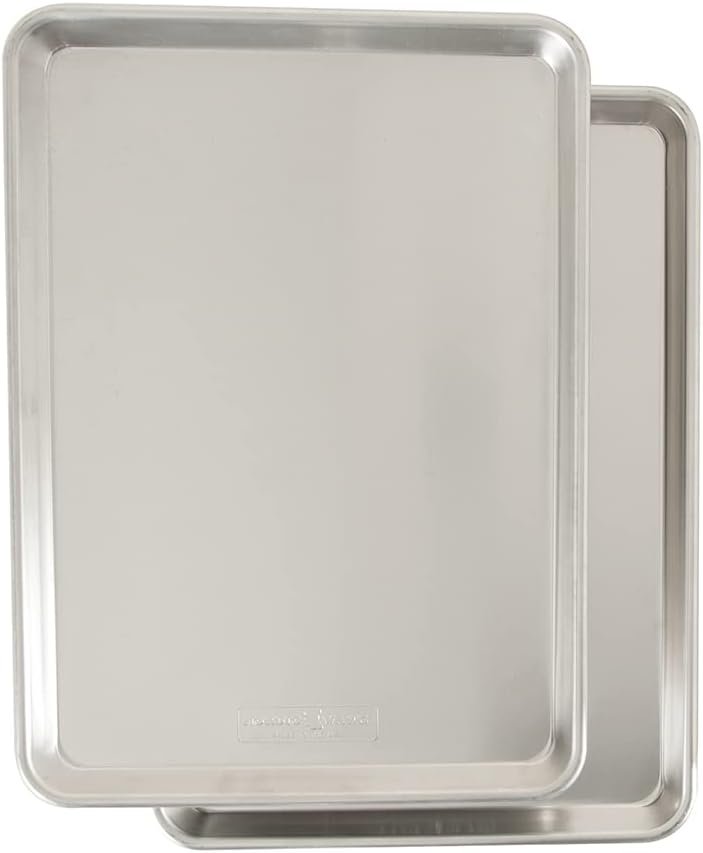
Nordic Ware Half Sheet Pans
Roast the pumpkin halves cut-side down with room to spare.
Check Price on Amazon →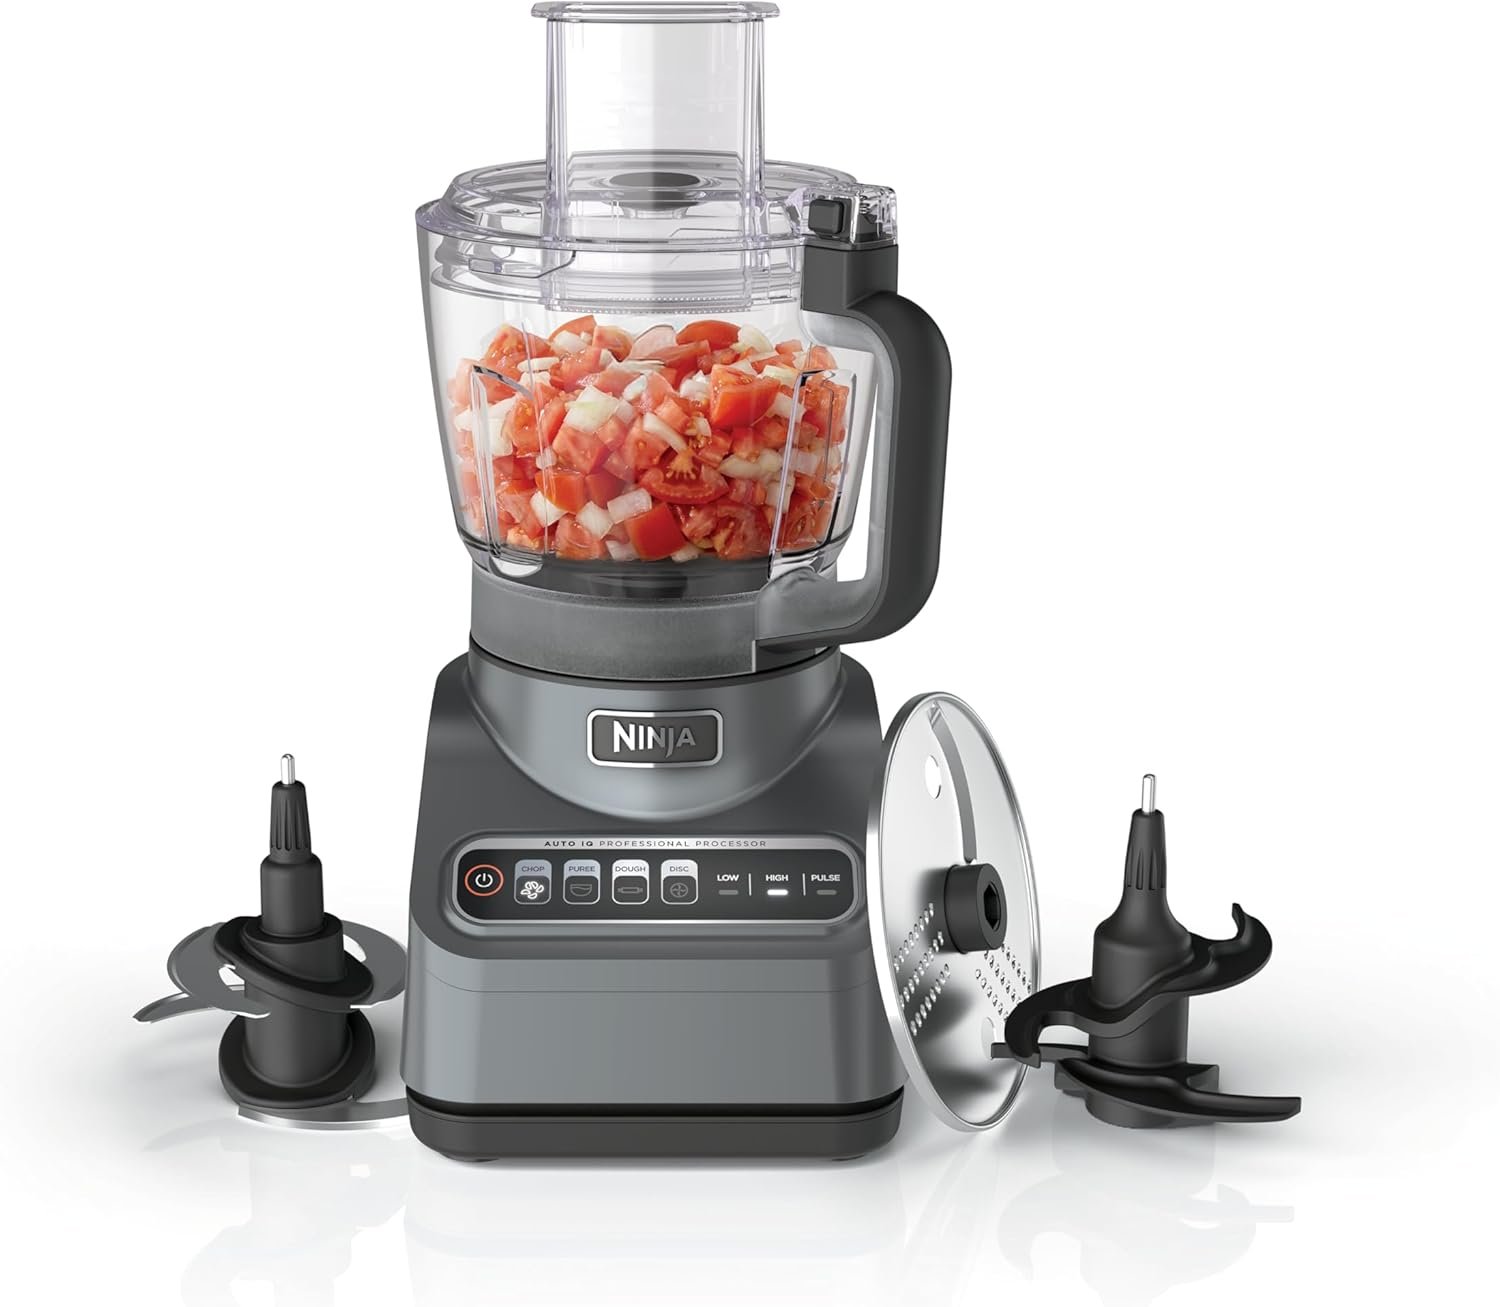
Ninja 9-Cup Food Processor
Blends roasted pumpkin into a silky purée with no strings.
Check Price on Amazon →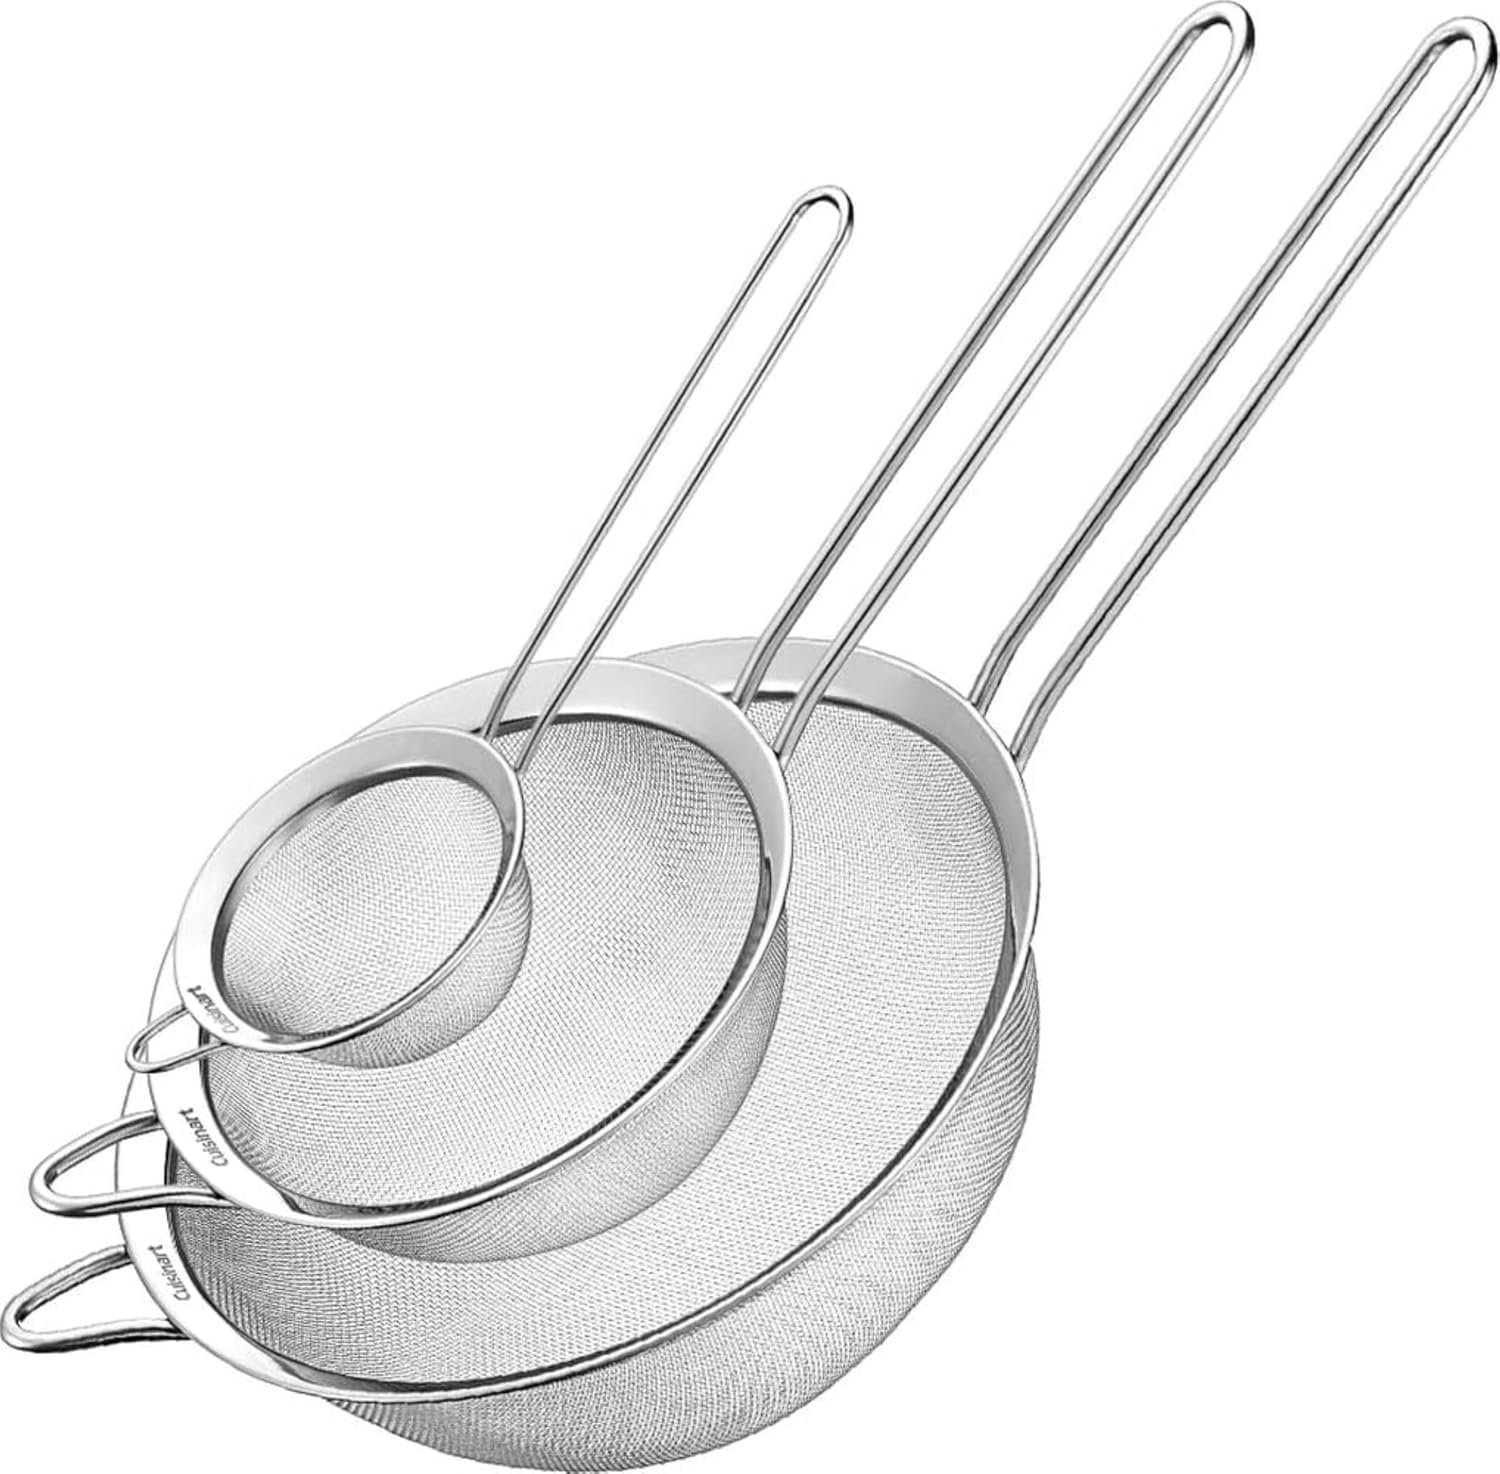
Cuisinart Fine Mesh Strainers
Drains watery purée so the filling sets and slices cleanly.
Check Price on Amazon →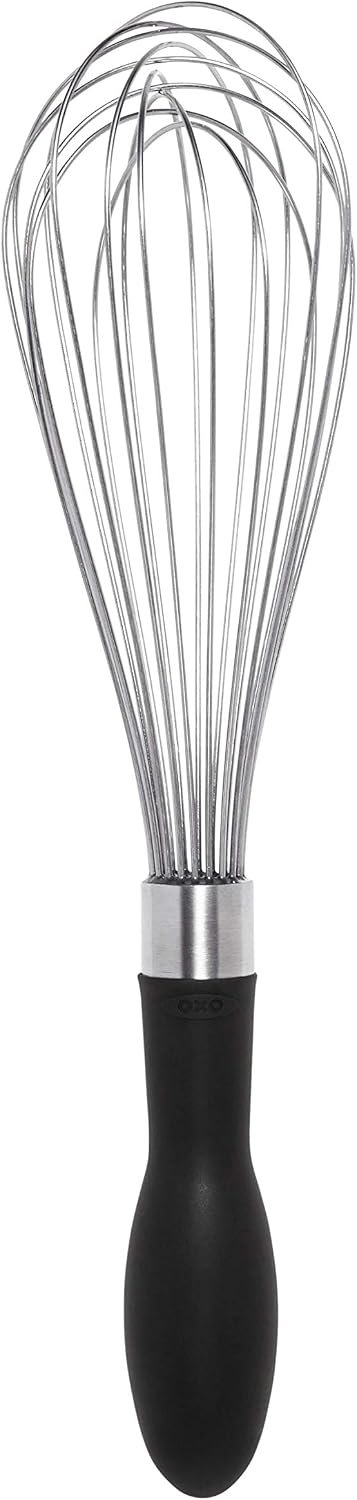
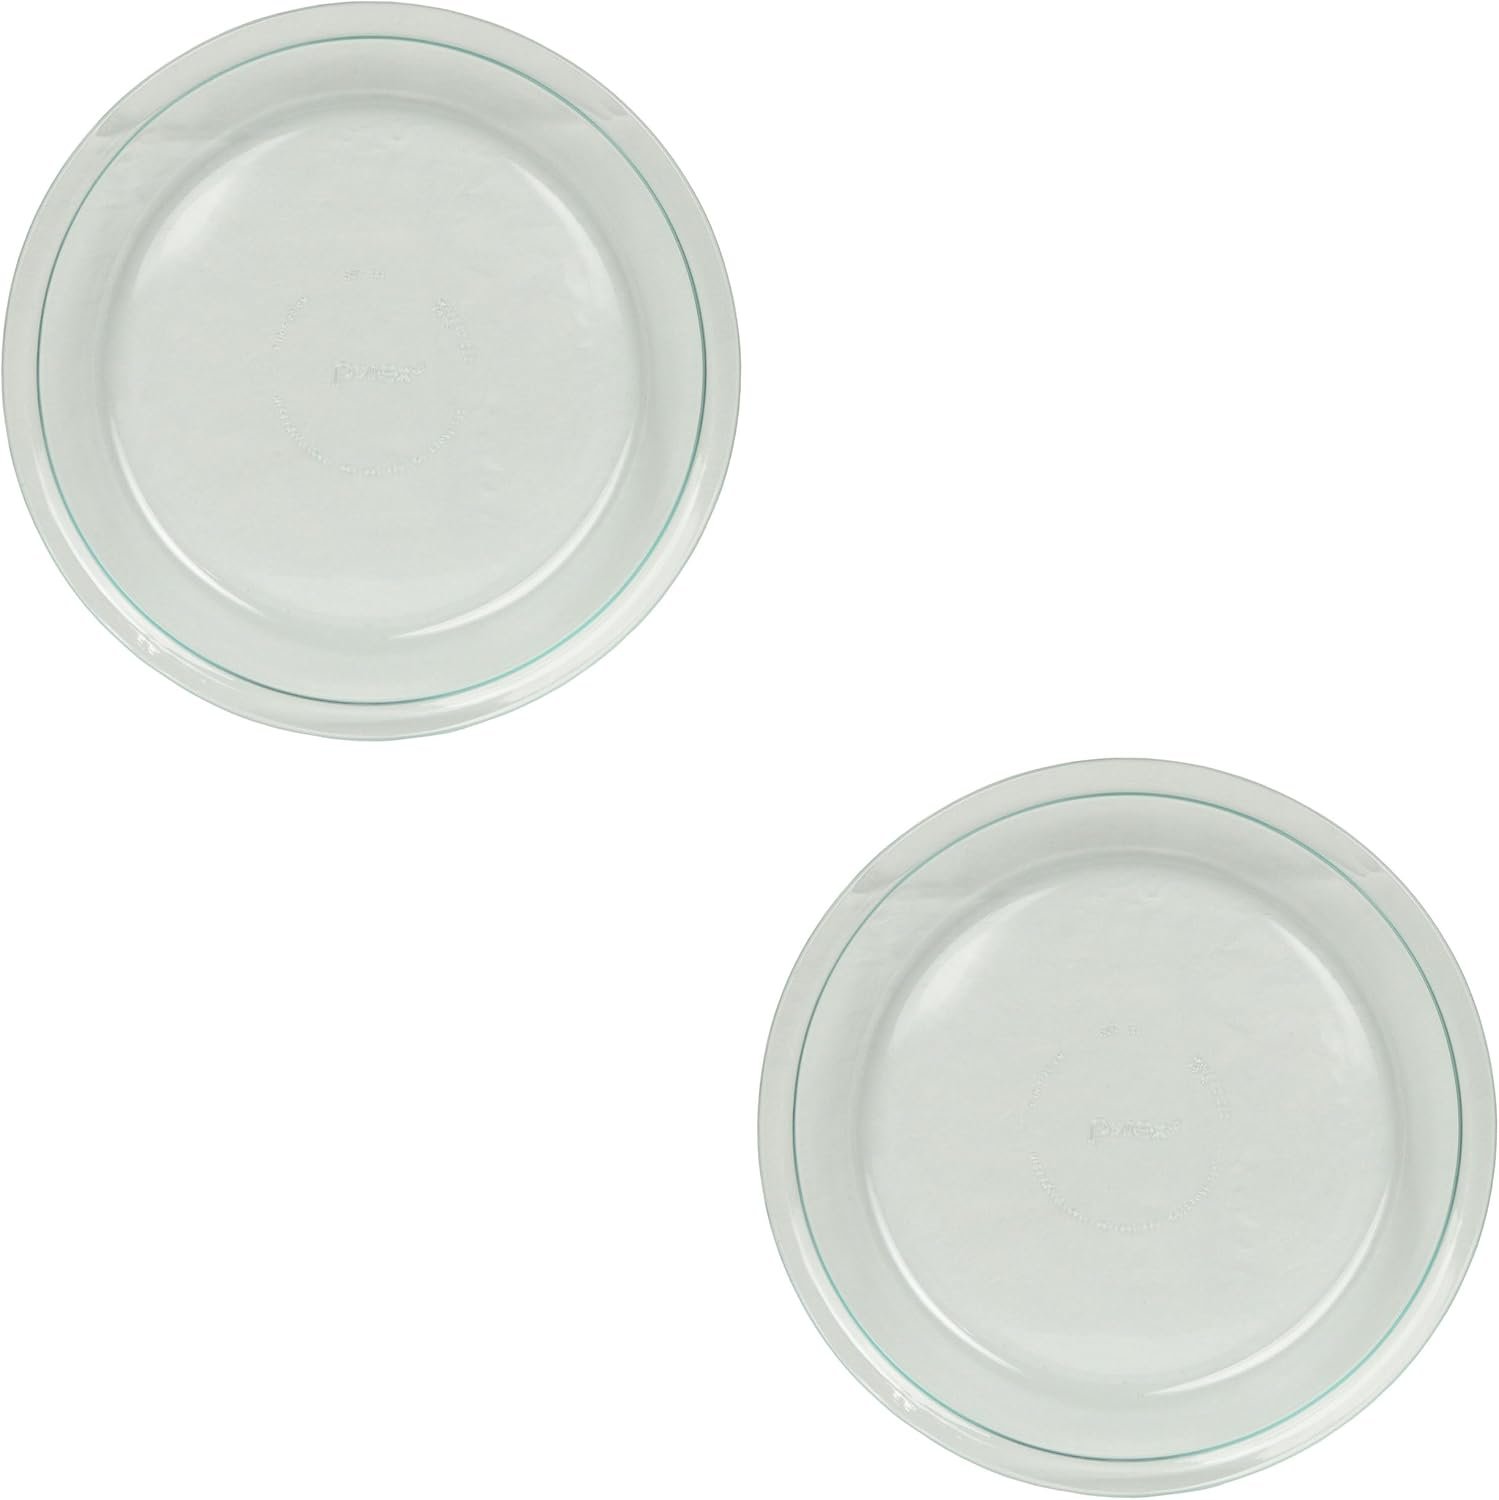

Silicone Pie Crust Shields
Stop the crust edges from burning during the long bake.
Check Price on Amazon →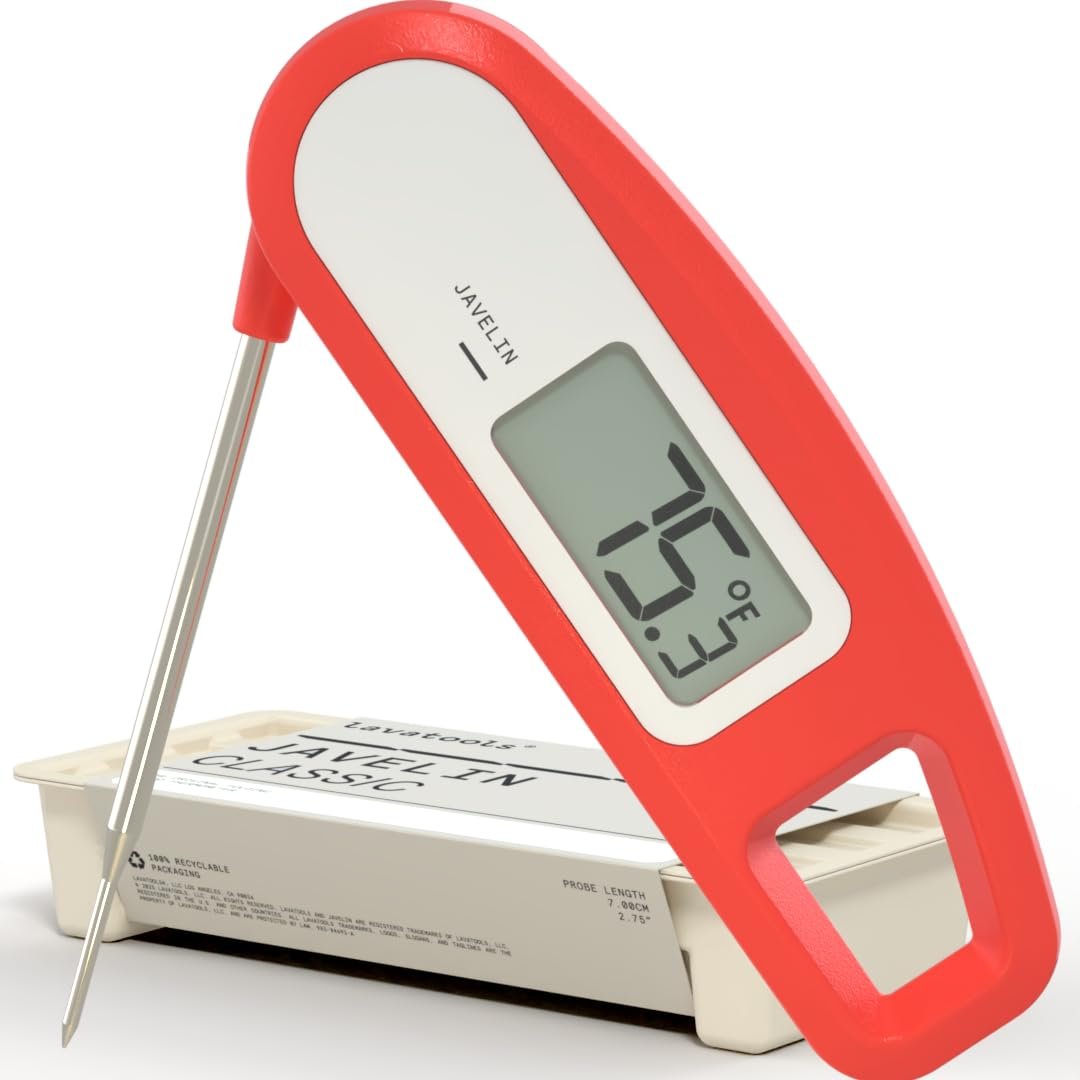
Lavatools Javelin Thermometer
The pie is set at 175°F in the center; no more guessing.
Check Price on Amazon →Pumpkin Pie Filling Made With Real Pumpkin: Which Pumpkin to Roast
Real pumpkin pie starts at the farm stand. The pumpkins grown for eating are small, dense and sweet. The big carving pumpkins stacked by the door are bred for size and thin walls, and their flesh is watery and stringy.
Best Pumpkins and Squash for Pie
| Pumpkin | For pie | Flesh and flavor |
|---|---|---|
| PumpkinSugar or pie pumpkin, 2 to 4 lb | For pieThe classic | Flesh and flavorDense, sweet, smooth and not stringy; the pumpkin this recipe is written for. |
| PumpkinKabocha squash | For pieExcellent | Flesh and flavorDrier, nuttier and very smooth; it may need little or no draining. |
| PumpkinButternut squash | For pieExcellent | Flesh and flavorSilky and mild, and easy to find all year. Use the same amounts. |
| PumpkinLong Island cheese pumpkin | For pieExcellent | Flesh and flavorA flat, tan heirloom with deep orange, fine-grained flesh. |
| PumpkinLarge carving pumpkin | For pieAvoid | Flesh and flavorBred for size and thin walls: watery, stringy and bland, so the pie tastes thin. |
| PumpkinA carved or decorated pumpkin | For pieNever | Flesh and flavorOnce cut and left out, it is not food. |
How to Pick a Good Pie Pumpkin
- Heavy for its size: dense flesh, less water
- A hard rind with no soft spots, cracks or mold
- Deep, even orange skin with a dull rather than glossy finish
- A firm, dry stem still attached
- 2 to 4 lb: easy to halve, and it roasts evenly
Roast, Steam, Microwave or Boil?
Every method softens the flesh. They differ in how much water they leave behind, and water is the enemy of a custard that sets cleanly.
| Method | How | Result for pie |
|---|---|---|
| MethodRoast (this recipe) | HowHalves cut side down, 400°F, 45 to 60 minutes | Result for pieSweetest, deepest flavor and the driest purée; the least draining |
| MethodSteam | How2-inch chunks over simmering water, 15 to 20 minutes | Result for pieClean, mild flavor; wetter, so drain well |
| MethodMicrowave | HowHalves cut side down in a covered dish with ¼ inch of water, about 15 to 20 minutes on high | Result for pieFast; mild and wet, so drain well |
| MethodBoil | HowPeeled chunks in water, 15 to 20 minutes | Result for pieWaterlogged and pale in flavor; not recommended for pie |
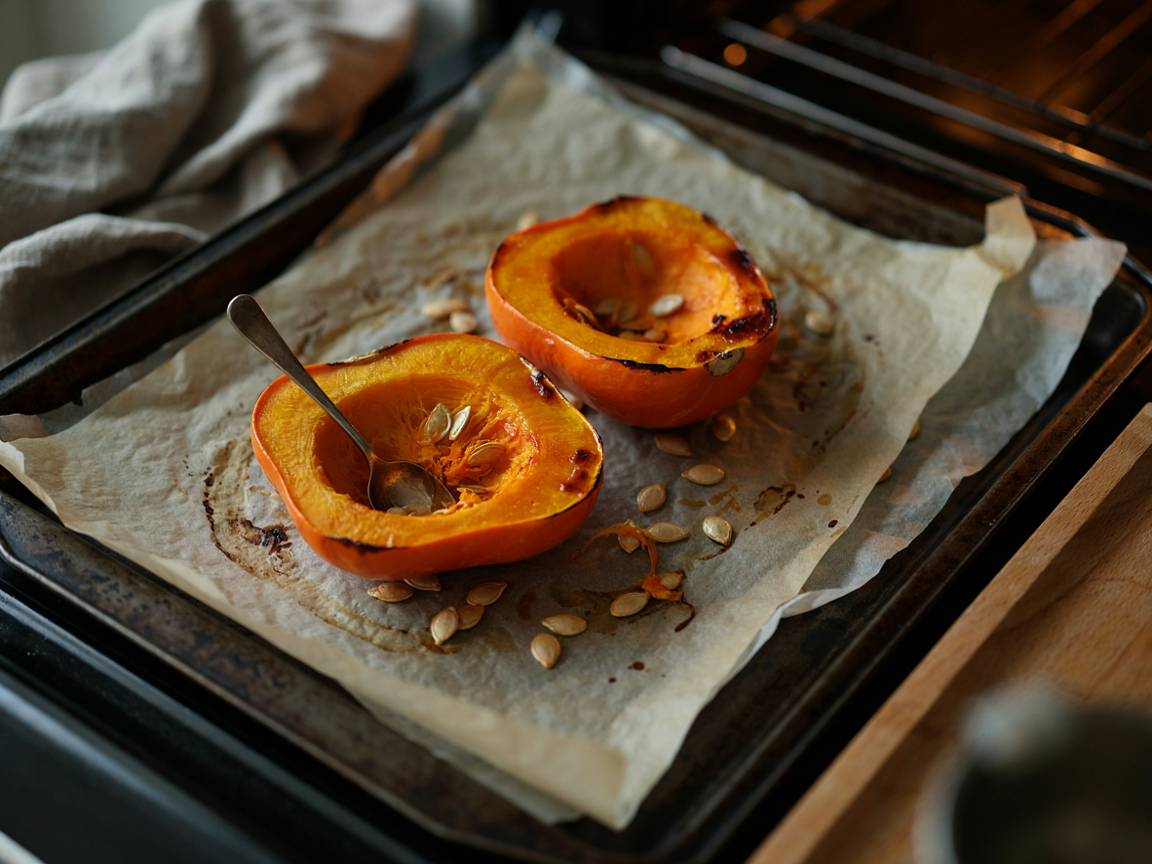
Roasted cut side down, then turned over to cool: soft enough to scoop with a spoon and lightly caramelized at the edges.
Roasting Tips
Set the pumpkin on a damp towel so it can’t roll, then cut down through the stem end with a heavy chef’s knife. If the rind is too hard to cut, pierce it a few times and microwave it whole for 2 to 3 minutes to soften it.
Roast cut side down so the flesh steams in its own shell while the cut edges caramelize against the pan. It is ready when a knife slides through skin and flesh with no resistance and the skin starts to wrinkle. Rinse the seeds and roast them alongside for a crunchy snack.
The Easy Way to Mash Pumpkin for Pie
Roasted pumpkin is soft enough for any tool. The easiest route to a silky filling is a food processor or blender; a potato masher works too, finished through a sieve. Use whatever the kitchen already has:
| Tool | How to use it | Texture |
|---|---|---|
| ToolFood processor | How to use itScoop in the warm flesh and run 1 to 2 minutes, scraping down once | TextureSilky; the easiest for a whole pumpkin |
| ToolBlender | How to use itBlend in batches; add a spoonful of water only if it stalls | TextureThe silkiest; drain a little longer if water went in |
| ToolImmersion blender | How to use itBlend in a tall container or right in the mixing bowl | TextureSmooth; handy for one small pumpkin |
| ToolPotato masher | How to use itMash the hot flesh until no lumps remain | TextureRustic; press it through a sieve for a smooth pie |
| ToolFood mill or fine sieve | How to use itPress the flesh through with a spatula, or turn the crank | TextureVery smooth; strings stay behind |
| ToolFork | How to use itOnly for very soft roasted kabocha or butternut | TextureLumpy; finish through a sieve |
How Thick Is Thick Enough?
Fresh purée holds more water than canned, and that water seeps out of the baked custard. Drain it until it matches canned pumpkin: thick enough to hold a spoon upright.
- Too wetLiquid pools at the edge and the spoon tips straight over. Keep draining.
- Nearly thereThe spoon leans slowly. Give it 15 to 30 minutes more.
- ReadyThick as canned pumpkin: the spoon stands, and a drag leaves a clean trail.
Three Ways to Thicken Wet Purée
Drain in a lined sieve
Spoon it into a sieve lined with paper towels or cheesecloth, set over a bowl. Allow 30 to 60 minutes on the counter, or overnight in the fridge for a very wet batch.
Cook it down
Stir it in a wide skillet over medium heat for 5 to 10 minutes, until a spoon drawn through it leaves a clear trail. Cool it before mixing.
Dry it in the oven
Spread it on a lined sheet pan and bake at 325°F for about 10 minutes, then stir it back together and let it cool.
Weighing is the surest check: 425 g of drained purée is one pie, the same as one 15-oz can. Any extra keeps for a muffin batch or a bowl of oats.
How to Make Pumpkin Pie Filling From a Pumpkin, Step by Step
The card has the short version. Here is the whole day laid out hour by hour, with the reasons behind each stage. Whole pumpkin to sliceable pie takes about 7 hours, well under an hour of it hands-on.
- 0:00
Roast
Heat the oven to 400°F, halve and seed the pumpkin and roast it cut side down for 45 to 60 minutes.
- 1:00
Scoop and blend
Cool the halves for 15 minutes, scoop the flesh and blend it smooth. Set it draining in a lined sieve.
- 1:20
Blind-bake
While it drains, bake the chilled crust with weights at 400°F for 15 minutes, then 5 without. Lower the oven to 325°F.
- 1:45
Mix
Whisk the sugar, spices and purée, then the eggs, cream, milk and alcohol-free vanilla. Sieve it if you like.
- 1:55
Bake
Bake at 325°F for 50 to 65 minutes, until the center wobbles as one piece.
- 3:00
Cool
Cool on a rack, away from drafts, for 2 hours.
- 5:00
Chill and slice
Refrigerate for at least 2 hours, then slice cold.
Blind-Bake the Crust First
A wet custard poured into raw pastry soaks in before the pastry can set, and that is how pies end up with a pale, soggy base. Blind-baking sets the crust first. Line it with parchment and fill it to the rim with pie weights or dried beans, so the sides don’t slump.
Bake at 400°F until the edge just begins to color, about 15 minutes, then lift out the weights and bake 5 minutes more, until the base looks dry. A small crack in the base? Press a scrap of raw dough over it before filling, or the custard will seep underneath.
Mix in the Right Order
Sugar and spices go in first, whisked dry so the spices don’t clump. The purée goes in next, then the eggs, then the dairy. That order dissolves the sugar into the pumpkin, keeps the eggs from streaking and works in as little air as possible.
Then strain it. Pressing the finished filling through a fine sieve catches stray fibers and threads of egg white. It takes two minutes and gives the smooth, glossy top of a bakery pie.
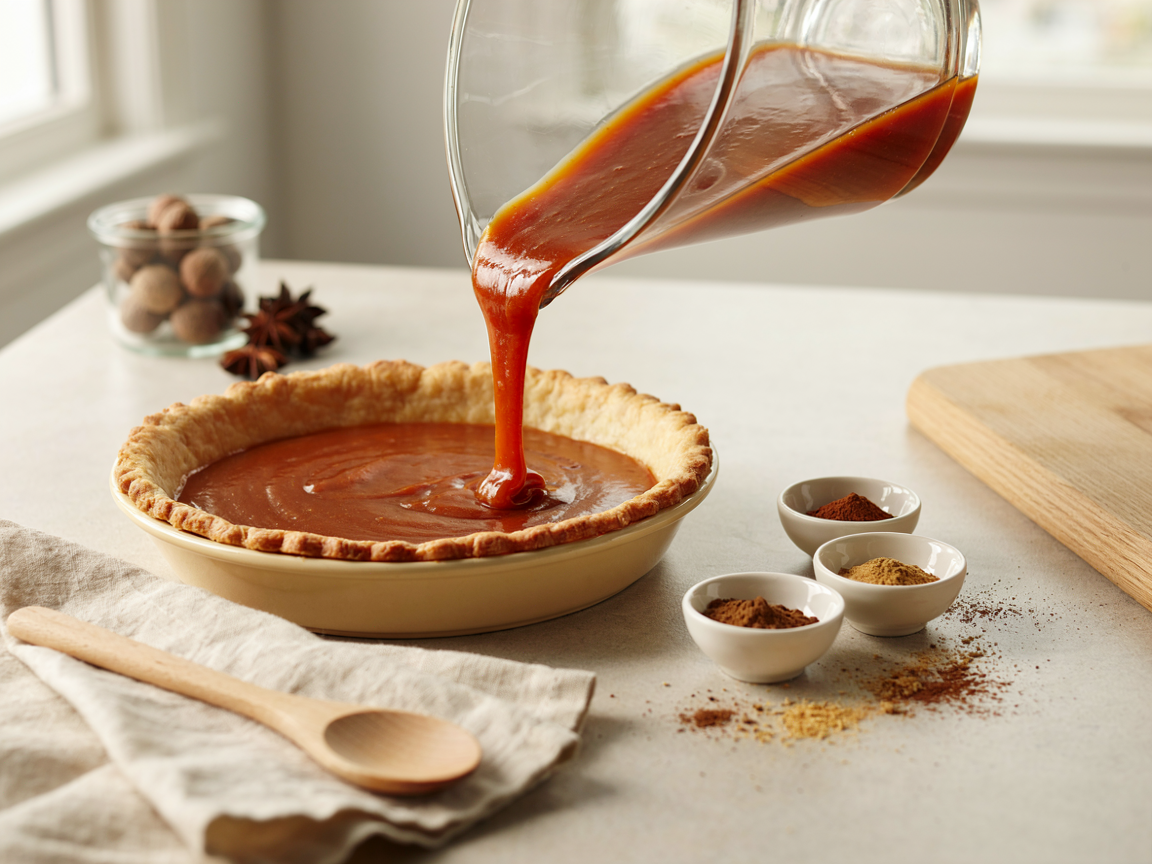
The filling should pour in a smooth, glossy ribbon: no lumps, no foam, into a crust that is already crisp and just set.
Why the Oven Stays at 325°F
Many pumpkin pies start in a hot oven to set an unbaked crust. This one doesn’t need to: the crust is already baked, so the oven stays low from start to finish. The custard heats evenly from edge to center, with less puffing and fewer cracks.
Three Doneness Checks
- The edgeSet, matte and slightly puffed, about 2 inches in from the crust.
- The centerA 2- to 3-inch circle that wobbles as one piece when the pan is nudged, not in ripples.
- The thermometer175°F (80°C) in the very center. Past about 185°F, expect cracks.
Pull it there. The custard keeps cooking as it cools, and an extra 10 minutes in the oven is the usual cause of a crack down the middle.
Pumpkin Pie Filling From Scratch With Canned Pumpkin Purée
No sugar pumpkin? The same filling works with one 15-oz (425 g) can of 100% pumpkin purée per pie. Canned pumpkin is already as thick as drained purée, so skip the roasting, blending and draining and start at step 4 on the card.
| Roasted sugar pumpkin | Canned 100% pumpkin | |
|---|---|---|
| Amount per pie | Roasted sugar pumpkin1¾ cups (425 g), drained | Canned 100% pumpkin1 can (15 oz / 425 g) |
| Prep | Roasted sugar pumpkinAbout 1½ hours, mostly hands-off | Canned 100% pumpkinOpen the can |
| Flavor | Roasted sugar pumpkinSweeter and roasty; lighter in color | Canned 100% pumpkinMild and consistent; deeper orange |
| Texture | Roasted sugar pumpkinSilky after blending and sieving | Canned 100% pumpkinThick and smooth every time |
| Draining | Roasted sugar pumpkin30 to 60 minutes | Canned 100% pumpkinNone |
| Everything else | Roasted sugar pumpkinSame sugar, spice, eggs, cream, crust and 325°F bake | Canned 100% pumpkinExactly the same; start at step 4 |
Watch the label: a can marked pumpkin pie filling or pie mix is already sweetened and spiced, so this recipe’s sugar and spice would double up. Use the can that says 100% pumpkin.
Prefer an evaporated-milk custard baked hot, then low, in an unbaked crust? That is the canned-purée version, with four milk options and pan sizes.
Half Fresh, Half Canned
A roasted pumpkin that came up short can be topped up with canned purée to reach 425 g. The flavor stays fresh and roasty, and the canned share steadies the texture.
Tips and Fixes for Homemade Pumpkin Pie Filling
Find the symptom, then the fix for next time. Nearly every problem comes back to one of two things: water in the purée or too much heat in the oven.
| Problem | Why it happens | Fix next time |
|---|---|---|
| ProblemWatery filling or a wet layer under the slice | Why it happensPurée not drained; pumpkin boiled or steamed | Fix next timeRoast, then drain until a spoon stands up |
| ProblemStringy or grainy texture | Why it happensA carving pumpkin; purée not blended long enough | Fix next timeUse a sugar pumpkin; blend 2 minutes, then sieve |
| ProblemCracks across the top | Why it happensOverbaked; air beaten in; oven running hot | Fix next timePull it at 175°F; stir gently; check the oven with a thermometer |
| ProblemSoggy bottom crust | Why it happensCrust not blind-baked, or filled long before baking | Fix next timeBlind-bake 15 + 5 minutes; fill just before it goes in |
| ProblemBland or flat flavor | Why it happensWatery pumpkin; spices past their best | Fix next timeRoast until the edges caramelize; replace spices older than a year |
| ProblemSets too soft | Why it happensUnderbaked, or sliced warm | Fix next timeBake to 175°F; cool 2 hours, then chill 2 more |
| ProblemLumpy filling | Why it happensBrown-sugar lumps; cold eggs | Fix next timeWhisk sugar and spices first; use room-temperature eggs |
| ProblemCrust edge too dark | Why it happensA thin edge and a long bake | Fix next timeShield the edge with foil or a pie shield after 30 minutes |
Six Habits for a Better Pie
Bring eggs and dairy to room temperature
Cold eggs and cream bake unevenly: the edge sets before the middle has warmed through. Thirty minutes on the counter is enough.
Strain the filling
A fine sieve catches stray pumpkin fibers and threads of egg white that the blender missed, for a smooth, glossy top.
Bake on a baking sheet
Set the filled crust on a sheet before it goes in. It catches drips and lets the pie slide in and out without sloshing the custard.
Shield the edge
If the crust edge browns before the center sets, cover it loosely with strips of foil or a pie shield for the rest of the bake.
Cool, then chill
Cool the pie fully at room temperature, then chill it at least 2 hours. Sliced warm, the filling runs instead of holding its shape.
Check the spices
Ground spices fade after about a year. If the jar smells faint, the pie will taste faint, so buy fresh ones for the holidays.
Variations: Six Ways to Change Up This Pumpkin Pie Filling
Each version starts from the card above and changes one thing: the sweetener, the squash, the dairy, the fat, the spice or the size. Tap one:
Maple-Sweetened Filling
Replace the brown sugar with ⅔ cup (160 ml) pure maple syrup and cut the milk to 2 tbsp to balance the extra liquid. The filling bakes up lighter in color with a gentle, woodsy sweetness; allow about 5 minutes more.
Kabocha and Cardamom
Roast a 2-lb kabocha squash in place of the sugar pumpkin and add ¼ tsp ground cardamom to the spices. Kabocha is drier and nuttier, so it may need little or no draining: weigh out 425 g.
Dairy-Free Coconut Filling
Swap the cream and milk for 1 cup full-fat canned coconut milk, stirred smooth, and use a dairy-free crust. The coconut stays in the background. For a filling with no eggs either, see this vegan pumpkin pie filling.
Brown Butter Filling
Melt 2 tbsp unsalted butter in a small pan and cook until it smells nutty and the solids turn golden. Cool it for 5 minutes and whisk it in with the eggs for a toasty, caramel-like depth.
Extra-Ginger Filling
Add 1 tsp freshly grated ginger along with the ground ginger. Fresh ginger is brighter and sharper, and it lifts the whole spice blend without making the pie hot.
Mini Pumpkin Tarts
Cut 12 pastry rounds, press them into a 12-cup muffin tin and chill. Blind-bake at 400°F for 10 to 12 minutes with weights, fill each about ¾ full and bake at 325°F for 20 to 25 minutes, to the same gentle wobble.
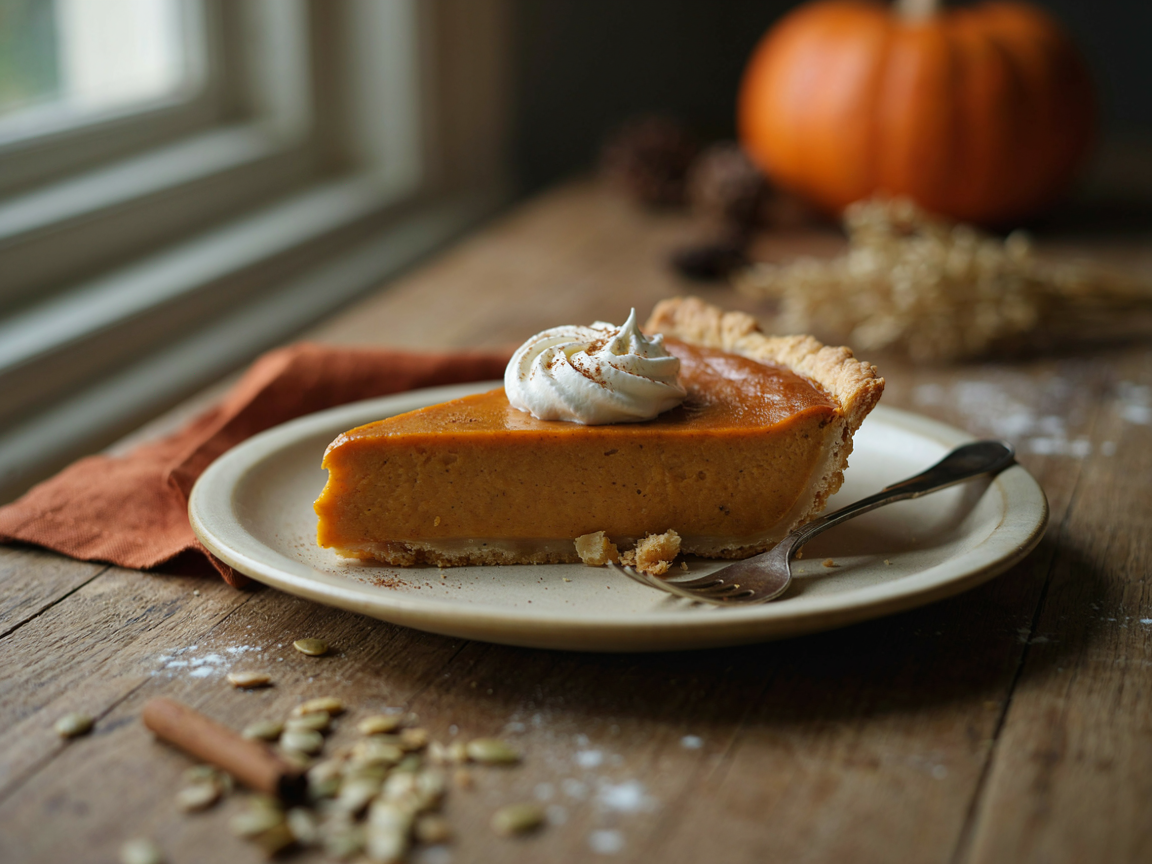
Served cold with softly whipped cream and a pinch of cinnamon: a smooth, dense custard over a flaky crust.
How to Serve It
Serve it cold or at cool room temperature with softly whipped cream and a pinch of cinnamon. For a lightly spiced topping that holds its shape on a make-ahead pie, try this pumpkin pie whipped cream.
Want a taller pie? A 9½-inch deep-dish plate takes about 1½ batches of filling and a longer bake; the deep-dish pumpkin pie has the full method.
Make Ahead: Freezing Pumpkin Purée and Pie Filling
Real-pumpkin pie is the easiest holiday dessert to split across days. Roast and purée the pumpkin whenever pumpkins are good, mix the filling up to 2 days ahead and bake the pie the day before serving.
- Weeks
Freeze the purée
Roast, blend and drain, then freeze it in 1¾-cup (425 g) portions, one per pie. Thaw overnight in the fridge and pour off any liquid.
- 3 days
Or make it fresh
Drained purée keeps 3 to 4 days, covered, in the fridge. Fit the crust into its plate, wrap it and chill or freeze it.
- 2 days
Mix the filling
Whisk the filling, cover it and refrigerate it unbaked for up to 2 days. Whisk again before pouring.
- 1 day
Bake the pie
Blind-bake, fill and bake; add about 5 minutes if the filling went in cold. Cool 2 hours, then chill overnight.
- Day of
Slice and serve
Cut it cold with a hot, dry knife, and whip the cream just before serving.
Storage at a Glance
| What | Where | How long |
|---|---|---|
| WhatDrained pumpkin purée | WhereFridge, covered | How long3 to 4 days |
| WhatDrained pumpkin purée | WhereFreezer, in 1¾-cup portions | How longBest within 8 to 12 months |
| WhatUnbaked filling (eggs and dairy in) | WhereFridge, covered | How longUp to 2 days |
| WhatUnbaked filling | WhereFreezer, airtight, with a little headspace | How longAbout 1 month for the best texture |
| WhatBaked pie | WhereCounter, while it cools | How long2 hours, then into the fridge |
| WhatBaked pie | WhereFridge, loosely covered once cold | How long3 to 4 days |
| WhatBaked pie | WhereFreezer: chilled, wrapped twice, then in foil | How longUp to 1 month |
Pumpkin pie is an egg-and-dairy custard, so it belongs in the fridge once it has cooled. For a shelf-stable pantry, can pumpkin only as plain cubes in a pressure canner, never as purée or filling; this guide to canning pumpkin pie filling explains the tested method.
Thawing and Baking From Frozen
Thaw purée and unbaked filling overnight in the fridge, never on the counter. Pour off any liquid the purée releases and drain it again if it looks wet, then whisk thawed filling smooth before pouring. A frozen baked pie thaws overnight in the fridge; the top may look a little damp.
Planning a whole holiday spread? These make-ahead Thanksgiving desserts free up the oven on the day.
Nutrition (approximate, per slice)
One of 8 slices, with an all-butter single crust and before whipped cream; the filling alone is about 205 calories a slice. Contains eggs, dairy and gluten (in the crust). Halal with alcohol-free vanilla and an all-butter or vegetable-shortening crust.
Easy Pumpkin Pie Filling Recipe From Scratch: FAQ
How do you make pumpkin pie filling from scratch?
Roast a halved 2-lb sugar pumpkin cut side down at 400°F for 45 to 60 minutes, blend the flesh and drain it until thick. Whisk 1¾ cups with ¾ cup brown sugar, spices, salt, 2 eggs plus a yolk, ¾ cup cream, ¼ cup milk and alcohol-free vanilla. Bake in a blind-baked crust at 325°F for 50 to 65 minutes.
What is the easiest way to mash pumpkin for pie?
Roast it first so the flesh is very soft, then run it through a food processor or blender for 1 to 2 minutes. No machine? Mash it with a potato masher and press it through a fine sieve. Either way, drain it until a spoon stands up in it.
What kind of pumpkin is best for pumpkin pie filling?
A small sugar or pie pumpkin, 2 to 4 lb, or kabocha or butternut squash. Large carving pumpkins are watery, stringy and bland, so the filling tastes thin and may not set. Never use a pumpkin that has been carved or left out as decoration.
How much purée does one sugar pumpkin make?
A 2-lb (900 g) sugar pumpkin gives about 1¾ cups (425 g) of drained purée, enough for one 9-inch pie. A 4-lb pumpkin, or two small ones, makes about 3½ cups, enough for two. Yields vary with how watery the pumpkin is, so weigh after draining.
Can I use canned pumpkin purée instead of fresh pumpkin?
Yes. Use one 15-oz (425 g) can of 100% pumpkin per pie and skip the roasting, blending and draining. The sugar, spices, eggs, cream, blind-baked crust and 325°F bake stay the same. Avoid canned pumpkin pie mix, which is already sweetened and spiced.
Why is my homemade pumpkin pie filling watery?
Fresh purée holds more water than canned. If it was not drained, or the pumpkin was boiled or steamed instead of roasted, that water seeps out as the custard sets. Drain the purée until a spoon stands in it, and pull the pie at 175°F: overbaking squeezes out liquid too.
Do you have to blind-bake the crust for pumpkin pie?
For this recipe, yes. The filling bakes at a gentle 325°F, which is too low to set raw pastry under a wet custard, so the crust is baked first: 15 minutes with weights at 400°F, then 5 minutes without. It keeps the bottom crisp.
How do you know when pumpkin pie filling is done?
The edge is set and matte, and a 2- to 3-inch circle in the center wobbles as one piece when the pan is nudged. An instant-read thermometer in the center reads 175°F (80°C). It firms up fully as it cools and chills.
Why did my pumpkin pie crack?
Almost always overbaking: past about 185°F the custard puffs, then shrinks and splits as it cools. Air whisked into the filling and an oven running hot add to it. Pull the pie at the wobble, stir gently and cool it away from drafts.
What spices go in pumpkin pie filling?
This one uses 1 tsp cinnamon, ½ tsp ginger, ¼ tsp nutmeg, ⅛ tsp cloves and an optional pinch of black pepper: a lighter blend than most, so the roasted pumpkin comes through. About 2 tsp of pumpkin pie spice can stand in for all of them.
Can I make pumpkin pie filling ahead of time?
Yes. Drained purée keeps 3 to 4 days in the fridge, and the mixed, unbaked filling keeps up to 2 days, covered. Whisk it again before pouring and add about 5 minutes to the bake. A baked pie keeps 3 to 4 days in the fridge.
Can you freeze pumpkin purée and pumpkin pie filling?
Yes. Freeze drained purée in 1¾-cup portions, one per pie; it is best within 8 to 12 months. Unbaked filling freezes for about a month; thaw it overnight in the fridge and whisk it smooth. A baked pie freezes, well wrapped, for about a month.
How do you can easy pumpkin pie filling?
Home-canning pumpkin purée or pie filling is not a tested, safe method: it is too thick for heat to reach the center of the jar reliably. For shelf-stable pumpkin, pressure-can it in 1-inch cubes as shown in this guide to canning pumpkin pie filling, or freeze the purée or filling instead.
Do you need evaporated milk for pumpkin pie filling?
No. This filling uses ¾ cup heavy cream and ¼ cup whole milk, which bake into a softer, silkier custard. If evaporated milk is what is on hand, 1 cup can replace the cream and milk; the set is a little firmer.
More Pumpkin Pies and Fillings
The canned-purée filling, a deep-dish pie, a crustless pie, a dairy-free filling, muffins and make-ahead holiday desserts.
Pumpkin Pie Filling Recipe
The classic evaporated-milk filling, with milk swaps and pan sizes. See the recipe → Deep DishDeep-Dish Pumpkin Pie
A taller pie for a bigger table. See the recipe → CrustlessImpossible Pumpkin Pie
Blend, pour and bake: it makes its own base. See the recipe → Dairy-FreeVegan Pumpkin Pie Filling
Pumpkin pie filling without eggs or dairy. See the recipe → Bake SalePumpkin Pie Filling Muffins
Soft, spiced muffins made with pumpkin pie filling. See the recipe → Holiday PrepMake-Ahead Thanksgiving Desserts
Desserts to bake before the big day. See the list →Roast it sweet, drain it thick, bake it low and pull it at the wobble: that is the whole secret to a real-pumpkin pie.
Pin this easy pumpkin pie filling recipe from scratch for pumpkin season.