Kitchen Guide 101 · Budget DIY
How to Refresh Your Countertops Without Replacing Them
Cheap, renter-friendly ways to resurface old or outdated counters — peel-and-stick vinyl, paint kits, epoxy and butcher-block oil — plus the right method for every surface.
Replacing counters costs thousands and takes weeks. Refinishing or resurfacing the surface you already have costs a fraction and can be done in a weekend — an easy, budget-friendly way to modernize and update outdated laminate, tile, wood, and even stone. It’s also the simplest way to cover up or hide an old, stained, or worn countertop without the mess of a teardown. Here are the four best DIY methods, the exact products to use, and which one suits your material.
The 4 DIY Methods, Compared
Easy ways to modernize and update your countertops — which approach fits your surface, budget, and skill level.
| Method | Best for | Why it works | Cost | Picks |
|---|---|---|---|---|
| Peel-and-Stick Vinyl | Renters & fast updates | Waterproof, removable, no tools | $ | See picks ↓ |
| Countertop Paint Kit | Outdated laminate | Durable marble/granite look | $$ | See picks ↓ |
| Epoxy Coating | High-gloss stone look | Heat- & scratch-resistant | $$$ | See picks ↓ |
| Butcher-Block Oil | Refreshing wood counters | Food-safe, revives the grain | $ | See picks ↓ |
Prices are rough guides and change often — tap through for the current Amazon price.
The Methods & Best Products
1. Peel-and-Stick Vinyl — the instant, renter-safe fix
The ultimate budget hack: self-adhesive vinyl that lays right over a smooth counter. It’s waterproof, wipes clean, and peels off later — perfect for renters or a fast marble or butcher-block look with zero tools.
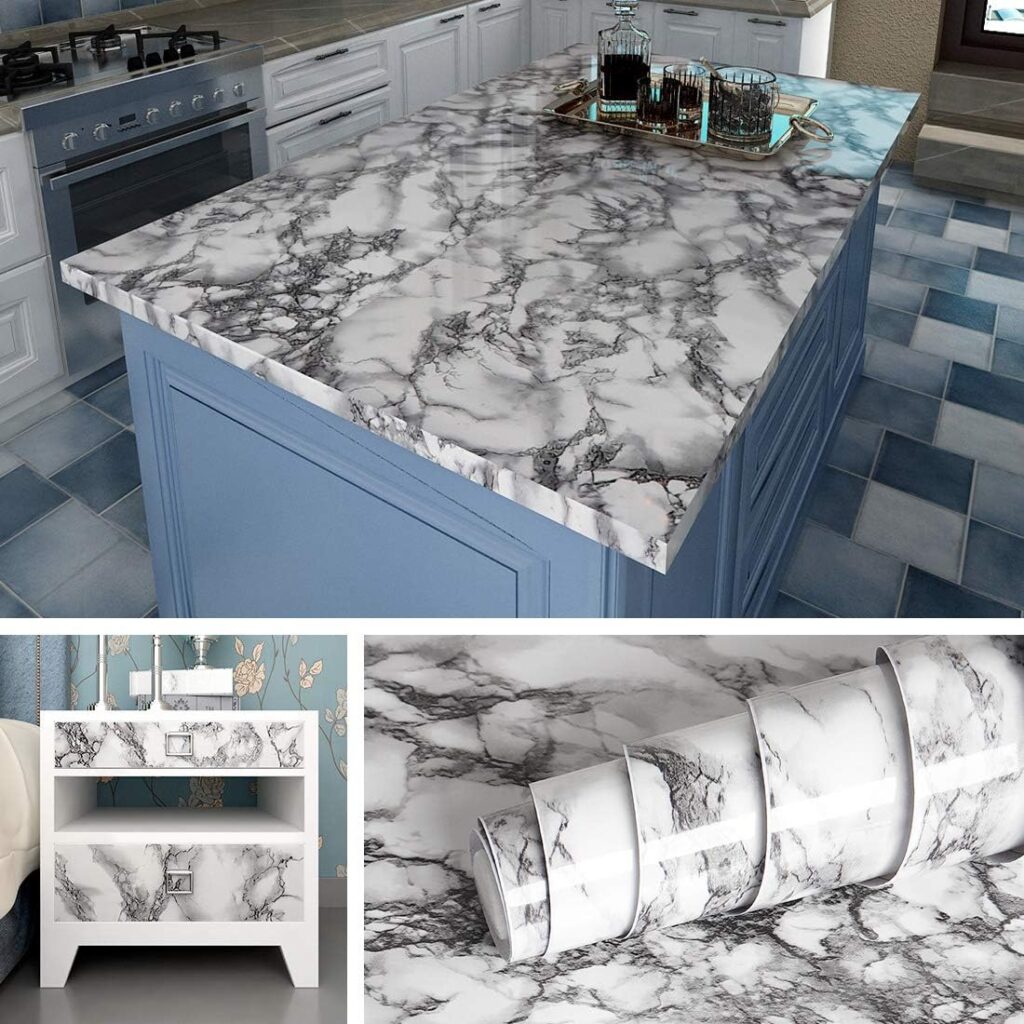
Livelynine Marble Peel-and-Stick Vinyl
Waterproof marble look with trim gridlines for clean cuts.
Check price on Amazon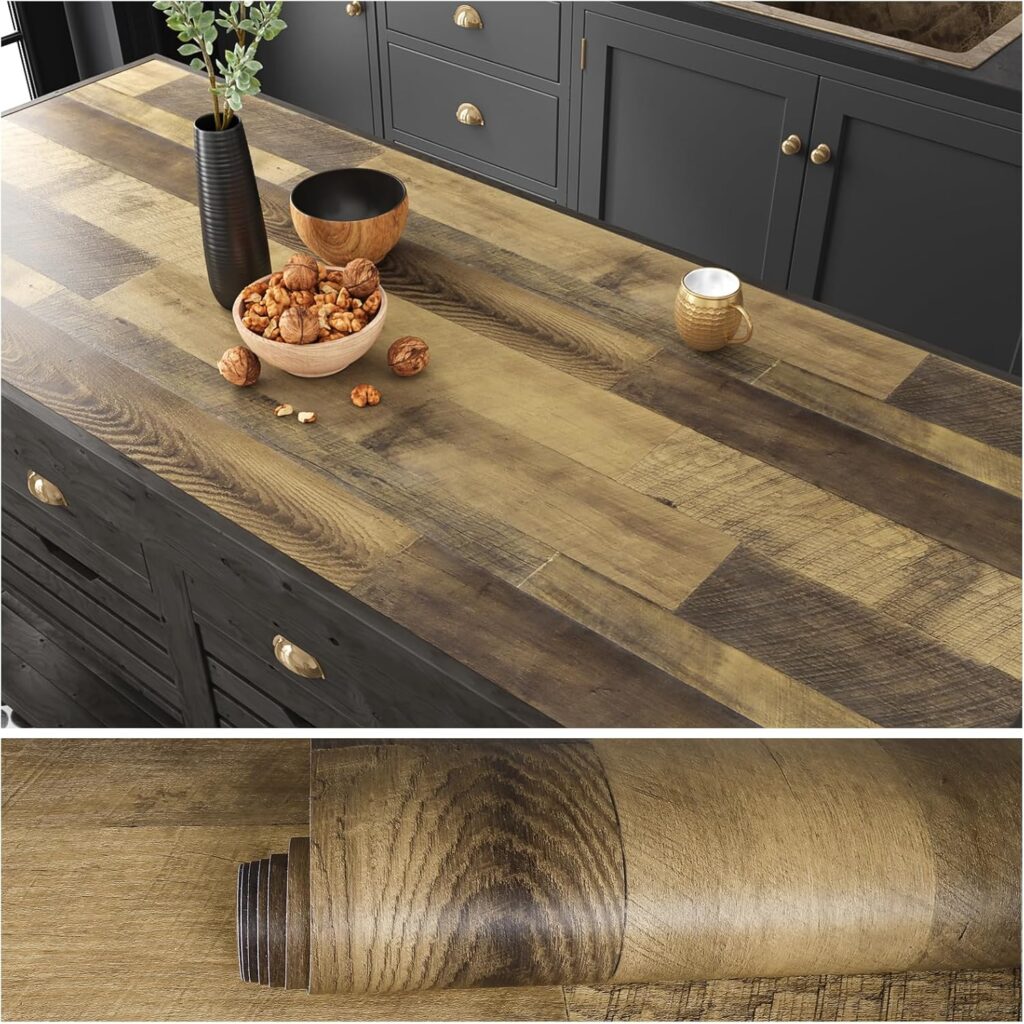
VEELIKE Butcher Block Contact Paper
Warm, textured wood-grain vinyl — thick, oil-proof, washable.
Check price on Amazon2. Countertop Paint Kit — a marble look for a fraction of the cost
Paint kits transform tired laminate into a convincing marble or granite finish. Choose a satin acrylic kit for budget and coverage, or an epoxy kit for a high-gloss, ultra-durable result.
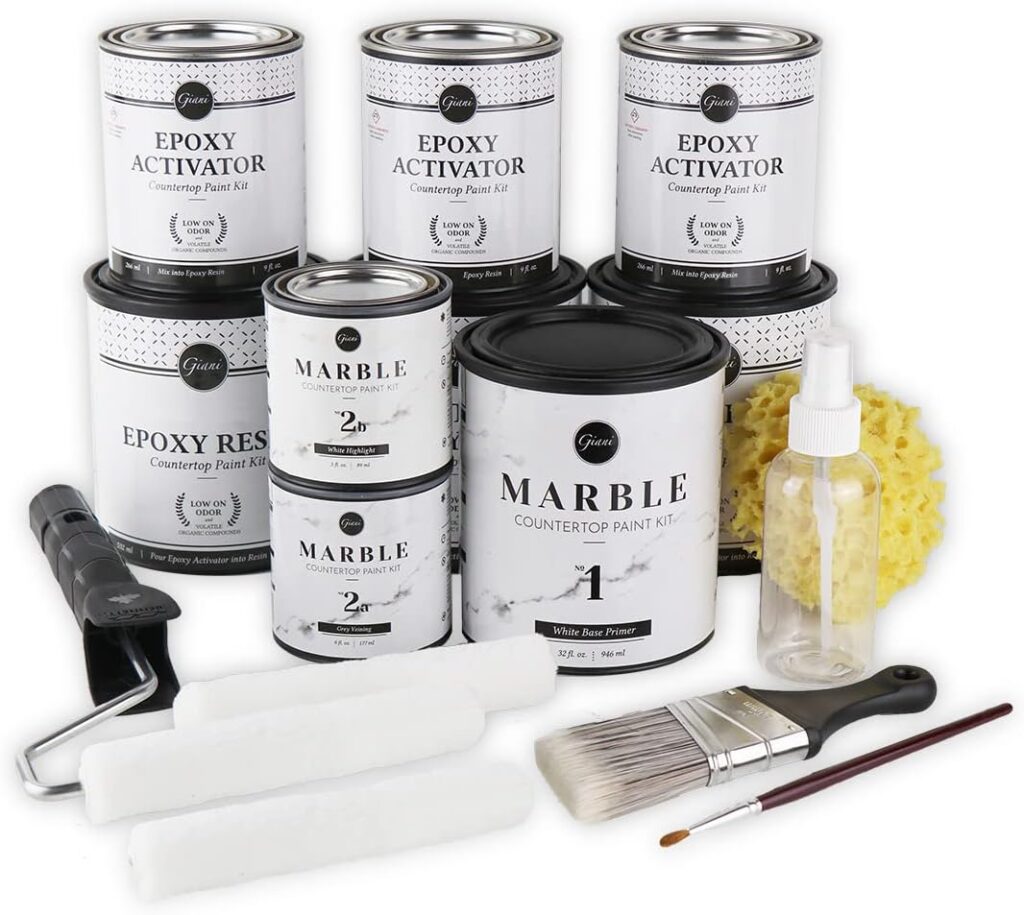
Giani Marble Countertop Paint Kit
High-gloss epoxy marble effect, full tool kit, zero-VOC.
Check price on Amazon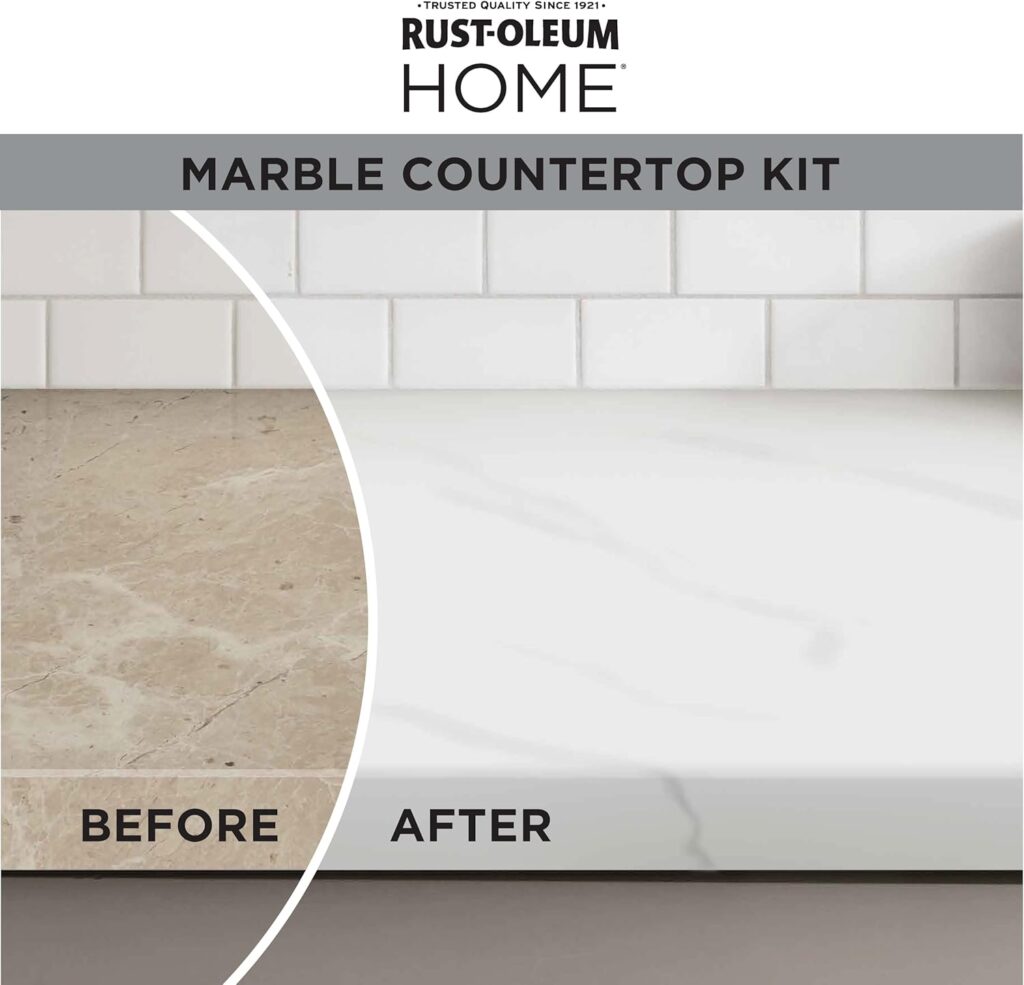
Rust-Oleum Countertop Coating
Budget-friendly satin finish covering up to 100 sq ft.
Check price on Amazon3. Epoxy Coating — glossy, quartz-like durability
Epoxy pours into a thick, high-gloss surface that mimics quartz or stone and resists heat and scratches. It’s the most dramatic upgrade — and works over laminate, wood, and tile.
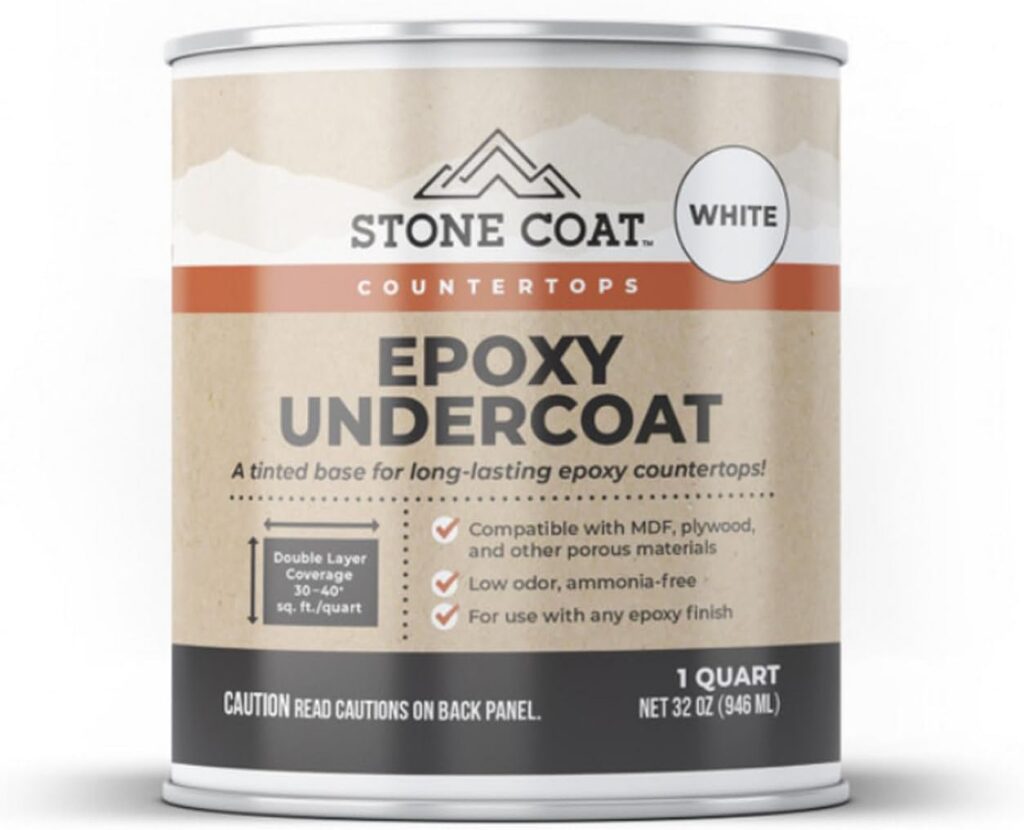
Stone Coat Epoxy Countertop Kit
Glossy, scratch- and heat-resistant; works over most surfaces.
Check price on Amazon4. Butcher-Block Oil — revive real wood in minutes
Wood counters don’t need resurfacing — just food-safe oil or conditioner to re-moisturize, protect, and bring the grain back to life.
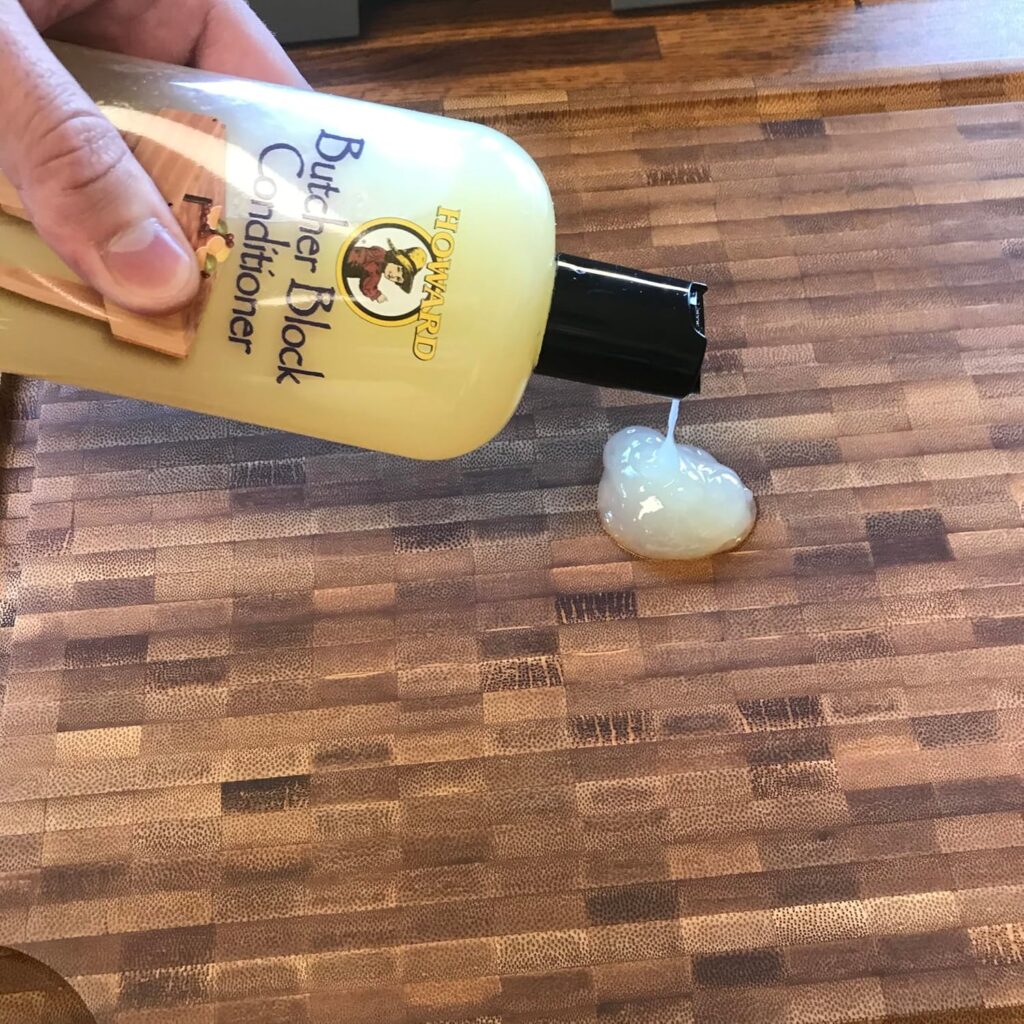
Howard Butcher Block Conditioner
Food-safe conditioner that moisturizes and protects wood.
Check price on Amazon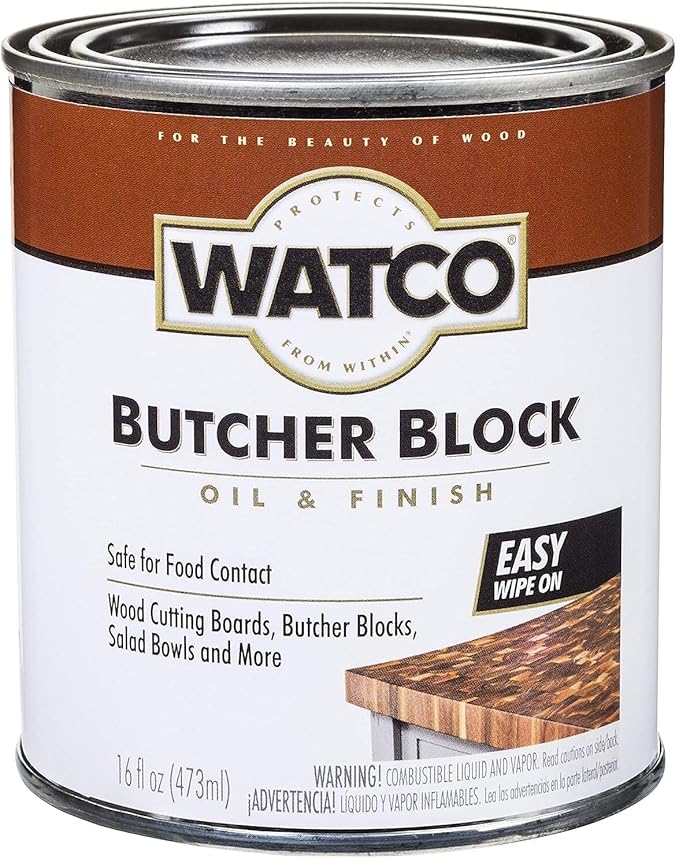
Watco Butcher Block Oil & Finish
Food-safe oil-and-finish in one that deepens the grain.
Check price on AmazonAs an Amazon Associate we earn from qualifying purchases.
Which Method for Which Material
Match the fix to your existing surface — laminate, tile, wood, stone and more.
| Your surface | Best method(s) | Notes |
|---|---|---|
| Laminate / Formica | Paint kit, peel-and-stick vinyl, or epoxy | Sand lightly + bonding primer first for paint or epoxy. |
| Ceramic tile | Epoxy, or bonding primer + countertop paint | Fill or level the grout lines before coating. |
| Wood / Butcher block | Food-safe oil or conditioner | Sand out marks, then re-oil — no coating needed. |
| Granite / Quartz / Marble | Clean, polish & reseal; light stone-safe refinish | Don’t paint stone — restore the finish or lightly resurface. |
| Melamine | Peel-and-stick vinyl, or bonding primer + paint | Melamine needs a strong adhesion promoter for paint. |
| Linoleum / Vinyl | Peel-and-stick vinyl or countertop paint | Clean and de-gloss thoroughly for adhesion. |
| Corian / Acrylic (solid surface) | Sand & buff to renew, or paint with primer | Fine scratches often buff right out. |
| Concrete | Concrete micro-topping / resurfacer | Adds a fresh matte layer that’s extremely tough. |
How to Redo Countertops Without Removing Them
The same five steps work for vinyl, paint, and epoxy.
- Clean and de-grease. Wipe every surface with a degreaser and dry fully — even a trace of oil ruins adhesion.
- Lightly sand / de-gloss. Scuff the surface so paint, vinyl, or epoxy can grip (skip for oiling wood).
- Prime if needed. Use a bonding primer on laminate, tile, or melamine before paint or epoxy.
- Apply your method. Follow the kit’s steps — smooth vinyl from the center out, or apply paint/epoxy in thin, even coats.
- Cure and seal. Let it fully cure (epoxy can take a weekend), then seal for durability — especially around the sink.
Countertop Refresh FAQs
What’s the cheapest way to redo countertops?
Peel-and-stick vinyl wrap is the cheapest option, often under $15, and needs no tools. Countertop paint kits are the next step up at about $60 and cover a large kitchen. Both give a fresh look for well under $100 without replacing anything.
How do you resurface countertops without removing them?
You apply a new surface right over the old one: peel-and-stick vinyl, a countertop paint kit, an epoxy coating, or a concrete micro-topping. Clean and de-gloss first so the new layer bonds, then cure and seal. No demolition is needed.
Can you paint or refinish laminate and Formica countertops?
Yes. Laminate and Formica are ideal candidates. Sand lightly, apply a bonding primer, then use a countertop paint or epoxy kit. Peel-and-stick vinyl also works well on smooth laminate for a no-paint option.
Can you refinish granite, quartz, or marble without replacing it?
Yes, but don’t paint natural stone. Clean, polish, and reseal it to restore the finish, and use a stone-safe repair kit for small chips or scratches. For a color change, professional stone-safe coatings exist, but restoration usually gives the best result.
How do you refresh or modernize tile countertops?
Fill or level the grout lines, apply a bonding primer, then coat with an epoxy or a tile-safe countertop paint kit for a smooth, seamless surface. You can also lay a fresh tile or vinyl overlay directly over the old tile.
How do you refresh wood or butcher-block countertops?
Sand out any marks or stains, then apply a food-safe butcher-block oil or conditioner to re-moisturize and protect the wood. Wood counters don’t need a coating — the oil revives the grain and can be reapplied any time.
Peel-and-stick vinyl, paint, or epoxy — which is easiest?
Peel-and-stick vinyl is the easiest and fastest, with no drying time and no tools. Paint kits take a weekend but transform outdated laminate. Epoxy gives the most dramatic, durable finish but needs the most care and curing time.
How durable is a DIY countertop refinish?
It depends on the method. Epoxy is the most durable, resisting heat and scratches for years. Paint kits with a sealed topcoat last a long time in normal use. Vinyl is the least permanent but is easy and cheap to replace when it wears or trends change.
Can you refresh bathroom countertops the same way?
Yes. The same methods work on bathroom vanities — peel-and-stick vinyl, a countertop paint kit, or a fresh seal. Just prep well and seal thoroughly around the sink, since bathrooms see a lot of moisture.
Do I need to seal the surface after resurfacing?
Usually yes. A sealer or topcoat protects paint and refinished surfaces from moisture and wear, especially around the sink and stove. Epoxy is self-sealing once cured, and oiled wood is re-protected by the oil itself.
What is countertop reglazing?
Reglazing is spraying or coating a hard, glossy finish over an existing counter to renew its look and color — similar to how bathtubs are reglazed. DIY countertop paint and epoxy kits achieve a comparable result at home.
How do you fix a damaged or chipped countertop around the sink?
For small chips, cracks, or water damage around the sink, fill the spot with a color-matched epoxy or countertop repair filler, sand it smooth once cured, then refresh the whole surface with paint, epoxy, or a peel-and-stick vinyl wrap so the repair blends in. Reseal the seam around the sink well, since that edge takes the most water.
Should I DIY or hire a professional?
DIY saves the most money and lets you customize the look, and it’s very doable if you’re patient. Hire a pro for a flawless, warrantied finish on a large or high-traffic kitchen, or for stone work where a mistake is costly.