
How to Use a Vacuum Sealer: Step by Step
Leave room in the bag, pre-freeze wet food, pick the right setting and keep the seal area dry. Here is how, food by food.
To use a vacuum sealer, put the food in a bag with at least 3 inches to spare, lay the open end flat in the sealer, choose the moist or dry setting, then vacuum and seal. Label the bag and refrigerate or freeze it.
Pre-freeze juicy meat and fish for 1 to 2 hours first, so the seal stays clean.
Bag: at least 3 inches above the food. Prep: pre-freeze meat and fish, freeze soups solid, blanch vegetables. Setting: moist or dry. After: label it, then into the fridge or freezer.
Seven steps, prep by food, fixes for seals that fail, and six sealers for the job are below.
Product links go to Amazon. As an Amazon Associate, Kitchen Guide 101 earns from qualifying purchases.
Vacuum Sealers for the Job Compared
Details are from each listing. Tap any name to see it on Amazon.
| Sealer | Type | Standout | For moist foods | Best for | Price |
|---|---|---|---|---|---|
| FoodSaver V4400 2-in-1 Vacuum Sealer with Automatic Bag Detection | Countertop | Automatic bag detection | Moist setting | Everyday sealing | $$$ |
| NESCO Deluxe Food VS-12 Vacuum Sealer | Countertop | Double pump, 130 W | Moist mode | Meat and soft foods | $$ |
| Anova Precision Vacuum Sealer Pro (with 19 ft Bag Roll) | Countertop | 19 ft bag roll | Wet mode and pulse | Cutting bags to size | $$ |
| Avid Armor USV20 Chamber Vacuum Sealer (11.5″ Bar) | Chamber | 11.5 in seal bar | Seals liquids | Soups and marinades | $$$ |
| Chef Preserve Compact Handheld Vacuum Sealer (with 30 Reusable Bags) | Handheld | 5-second seal, reusable bags | Pre-freeze first | Small kitchens | $$ |
| MegaWise Vacuum Sealer Machine (80 kPa) | Countertop | 80 kPa suction | Moist mode and pulse | First-time sealers | $ |
Details are from each listing or maker at time of writing and can change. Price tiers: $ lowest in this group · $$ middle · $$$ highest.
6 Vacuum Sealers That Make It Easy
Sealer picks match the best vacuum sealers list: four countertop sealers, a chamber sealer and a handheld.
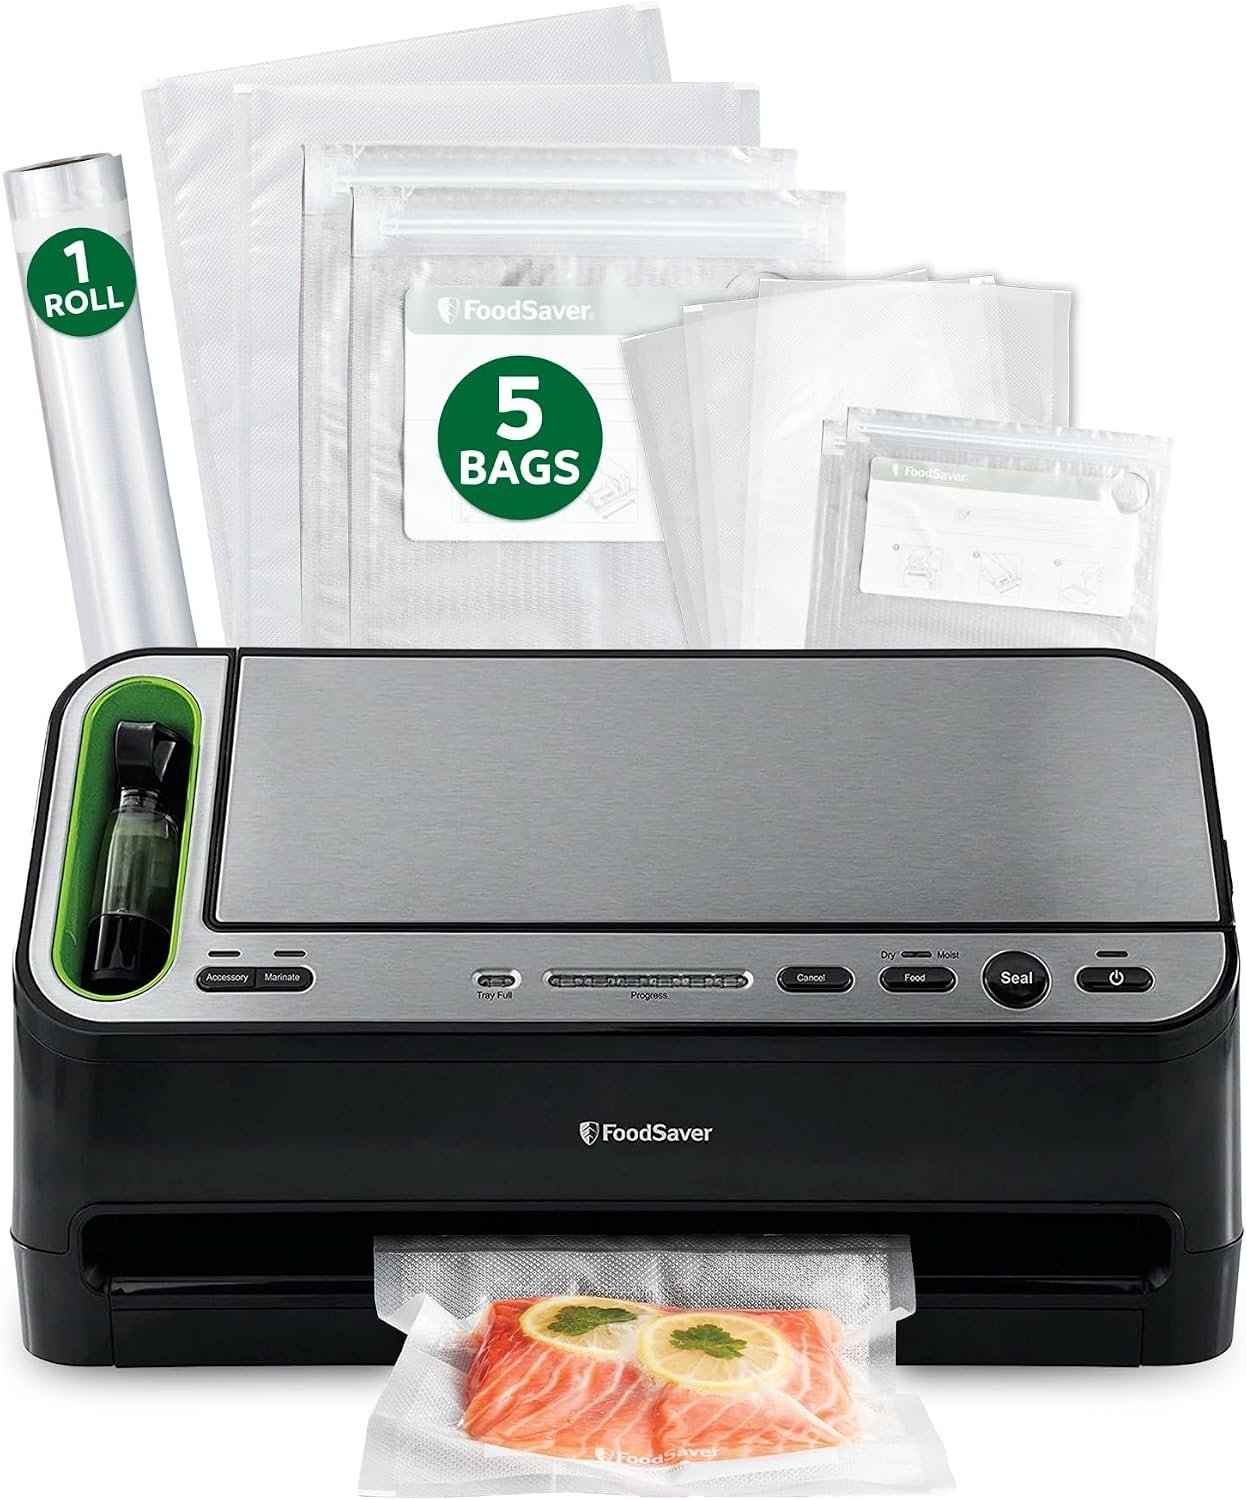
FoodSaver V4400 2-in-1 Vacuum Sealer with Automatic Bag Detection
The steps below follow the FoodSaver manual. FoodSaver says to leave at least 3 inches of bag above the food, choose the moist or dry setting, and wait 20 seconds between seals.
Automatic bag detection senses the bag when you insert it.
- Automatic bag detection
- Moist and dry settings
- Made for weekly sealing
- Highest price tier here
- Takes counter space
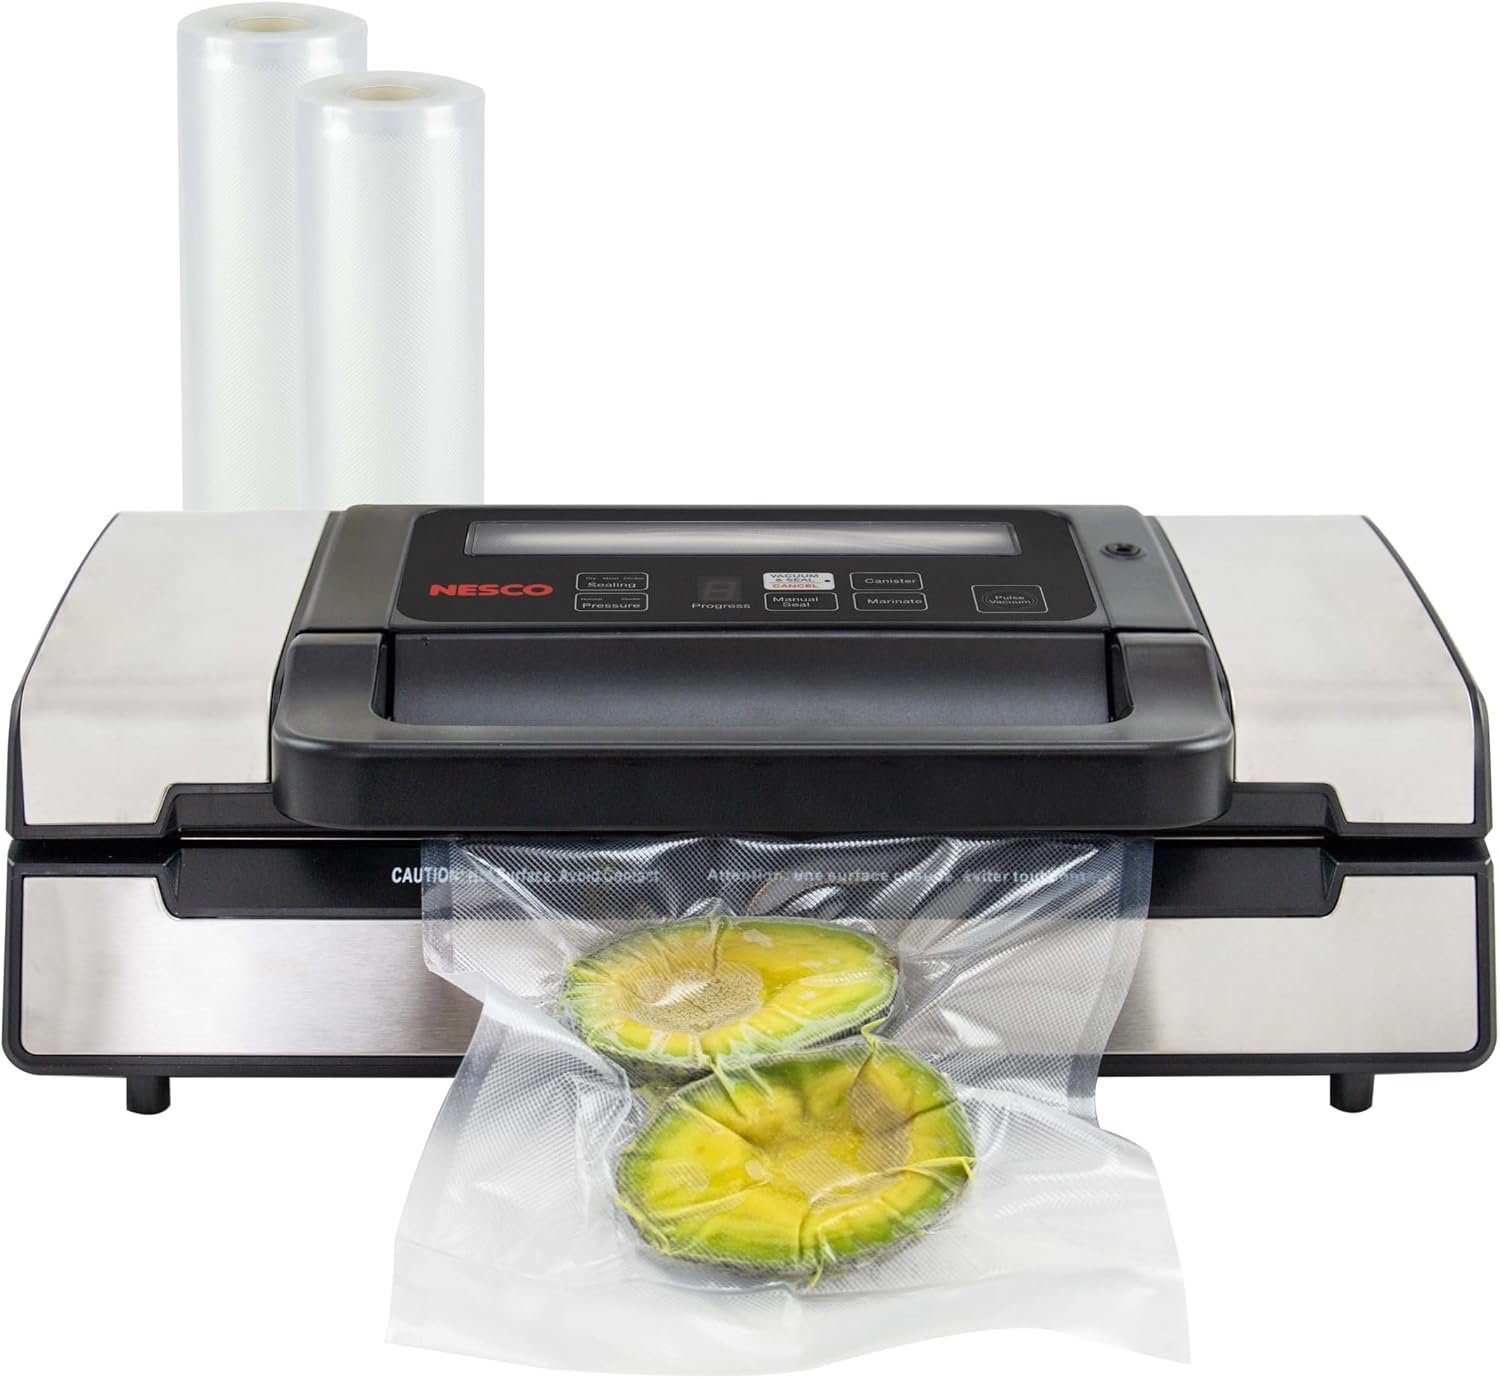
NESCO Deluxe Food VS-12 Vacuum Sealer
A 130-watt sealer with a double pump. Its moist mode and gentle vacuum setting cover the two trickiest jobs: juicy cuts and soft foods that crush.
Pre-freezing very wet food for 1 to 2 hours still helps.
- Moist mode
- Gentle vacuum for soft foods
- Mid price tier
- Takes counter space
- Pre-freeze very wet food
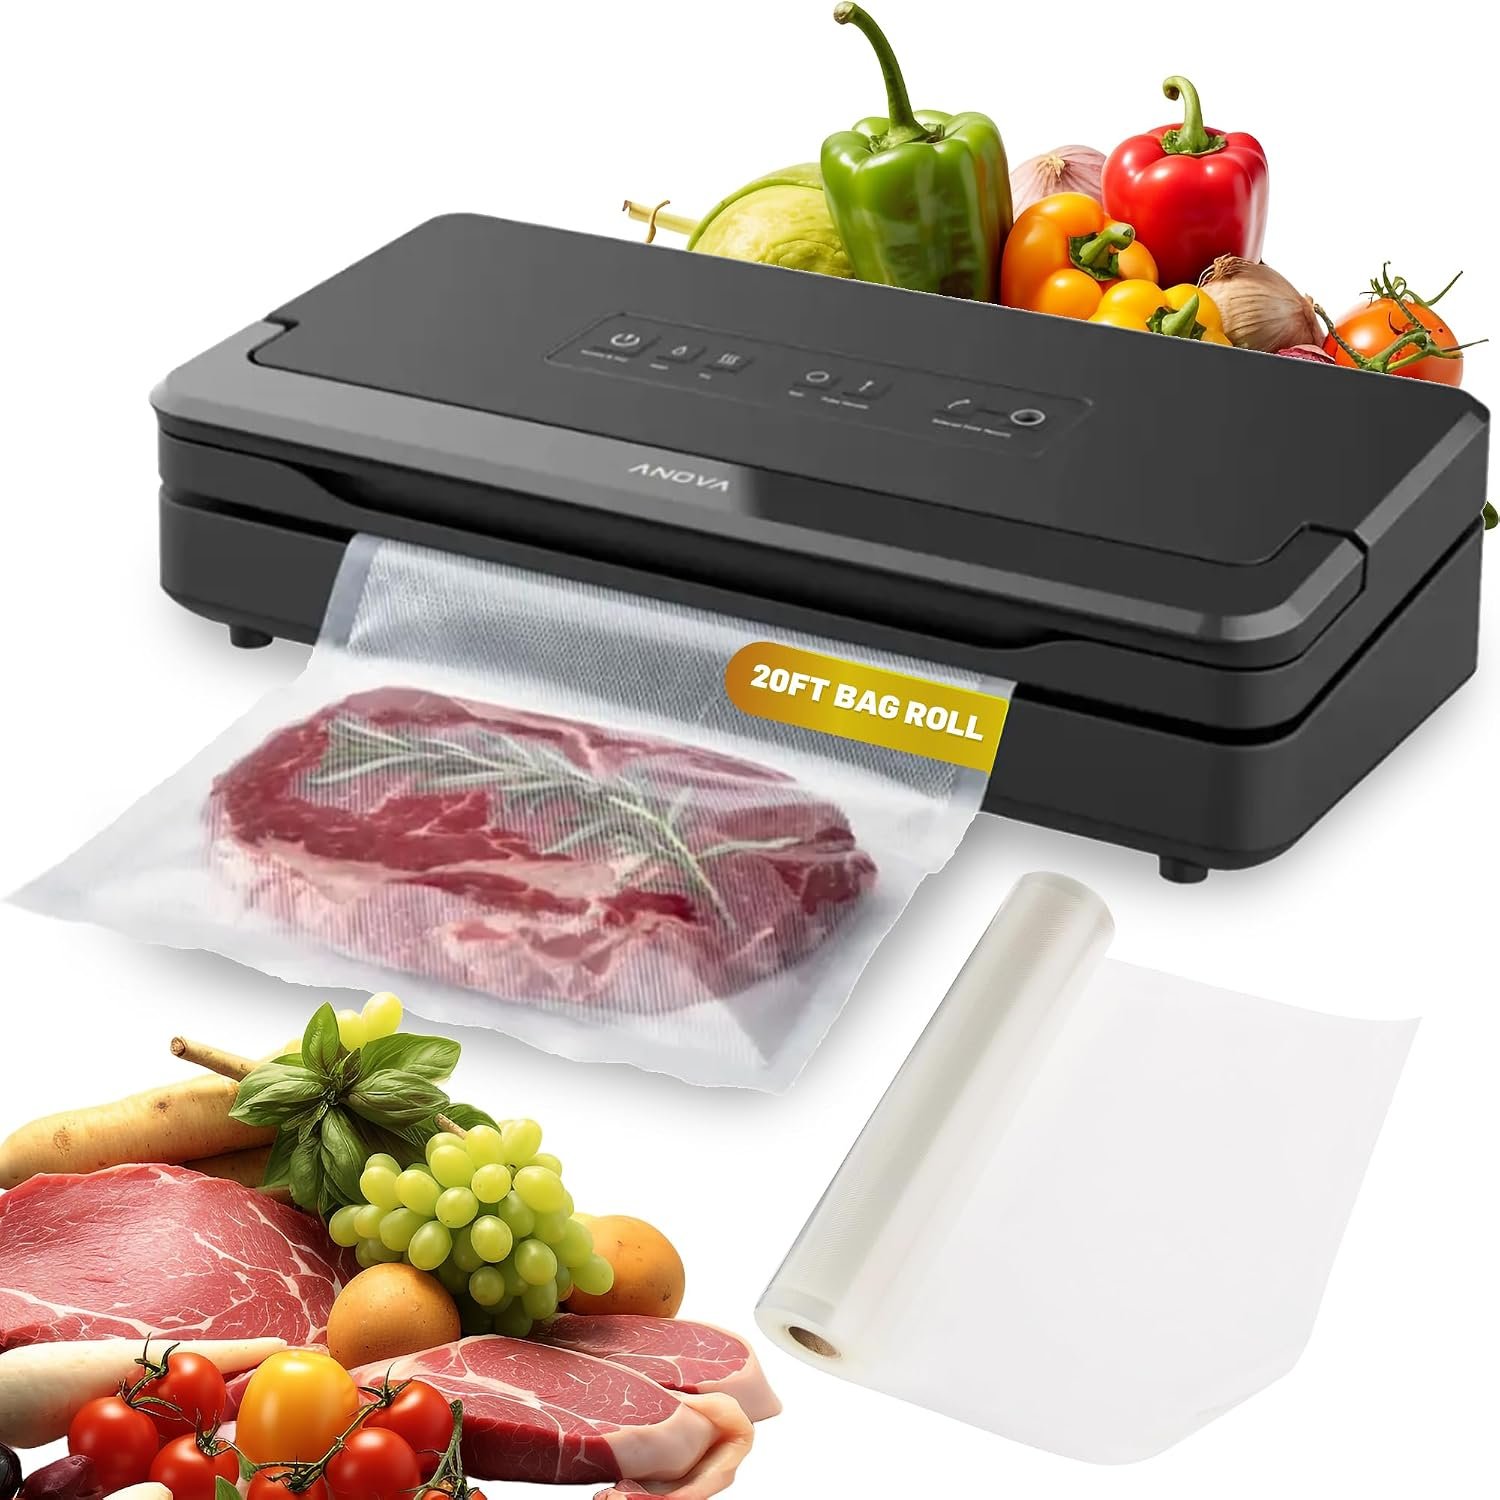
Anova Precision Vacuum Sealer Pro (with 19 ft Bag Roll)
It comes with a 19-foot bag roll, so you can cut each bag to fit. Pulse lets you stop the vacuum before soft food crushes, and wet mode is for moist foods.
With a roll, seal one end first, fill the bag, then vacuum seal the open end.
- Bag roll included
- Pulse control
- Wet mode
- Roll bags need one end sealed first
- Takes counter space
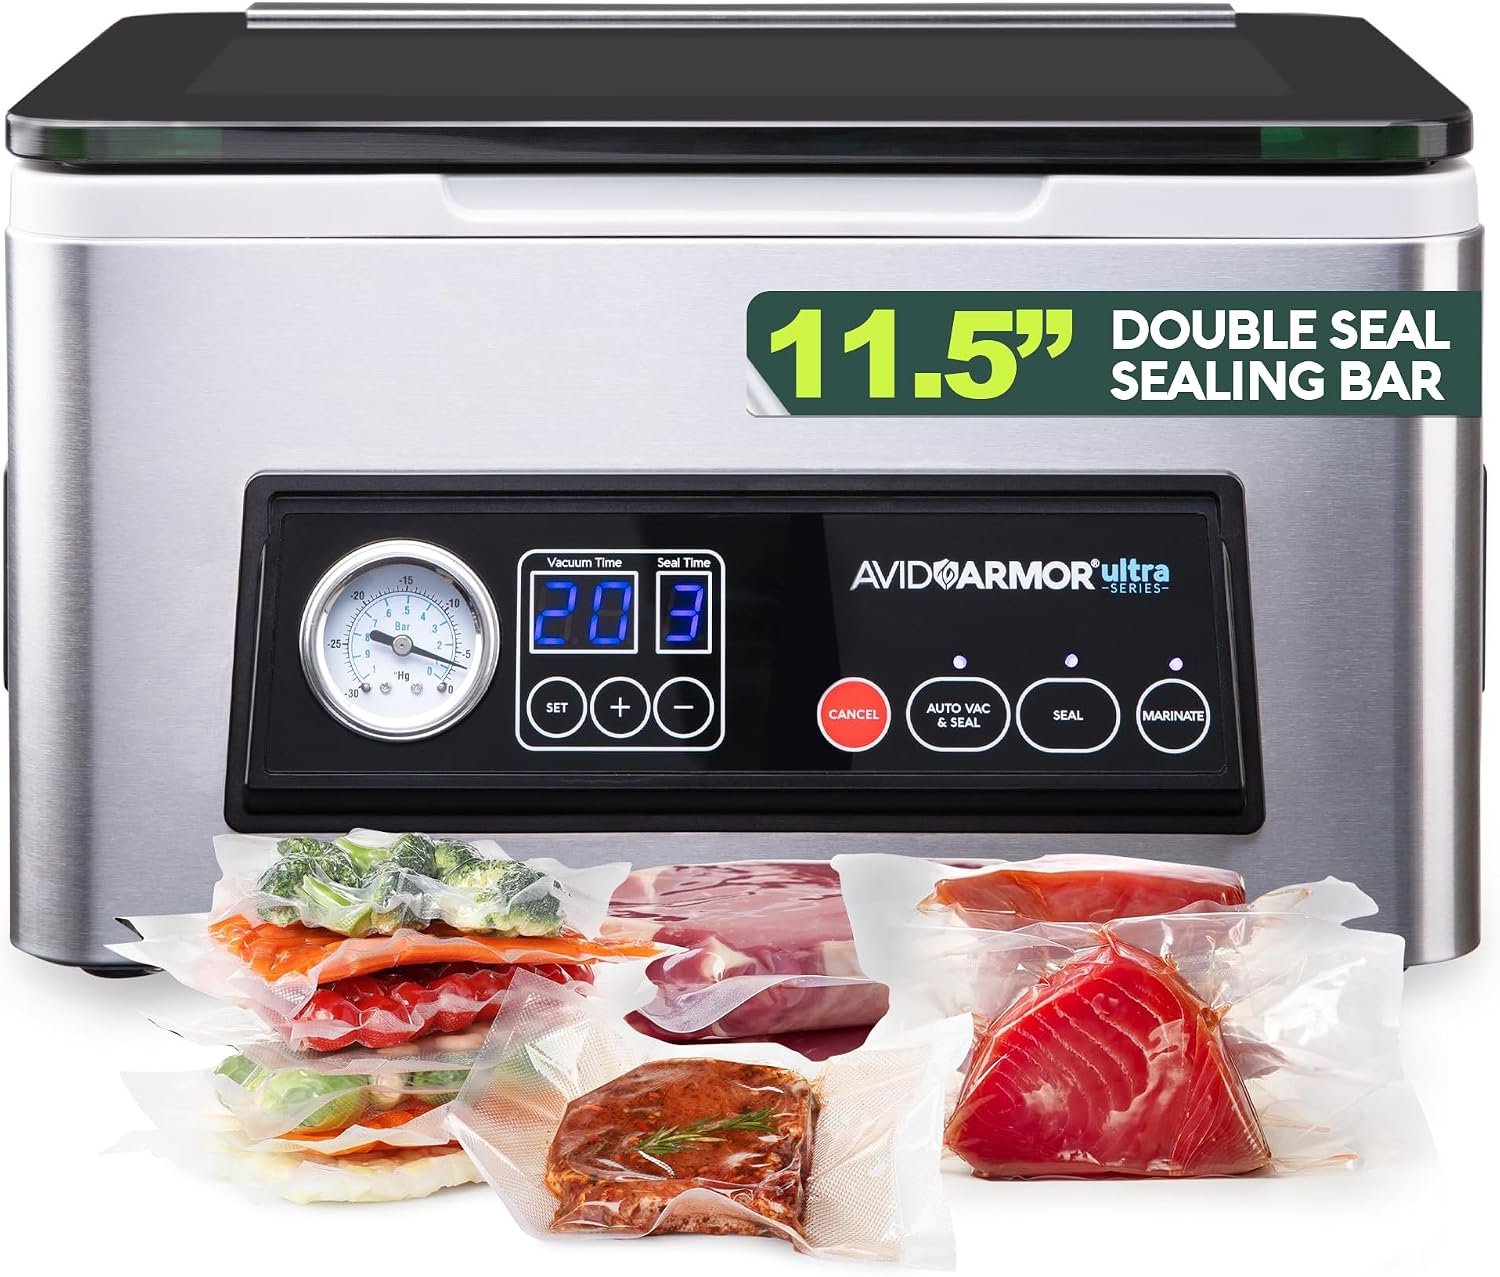
Avid Armor USV20 Chamber Vacuum Sealer (11.5″ Bar)
A chamber sealer works differently: the whole bag sits inside the chamber, so liquids stay in the bag. It handles soups and marinades, with a 15 to 60 second vacuum cycle and an 11.5-inch seal bar.
No need to freeze a cooled soup solid before sealing it.
- Seals soups and marinades
- Adjustable vacuum time
- Wide seal bar
- Highest price tier here
- Bigger than a strip sealer

Chef Preserve Compact Handheld Vacuum Sealer (with 30 Reusable Bags)
A handheld pump instead of a countertop machine. It seals in about 5 seconds and comes with 30 reusable bags, so there is no roll to cut.
Handy for small kitchens and quick jobs like leftovers and snacks.
- Small and portable
- Reusable bags
- Fast seal
- Needs bags made for it
- One bag at a time
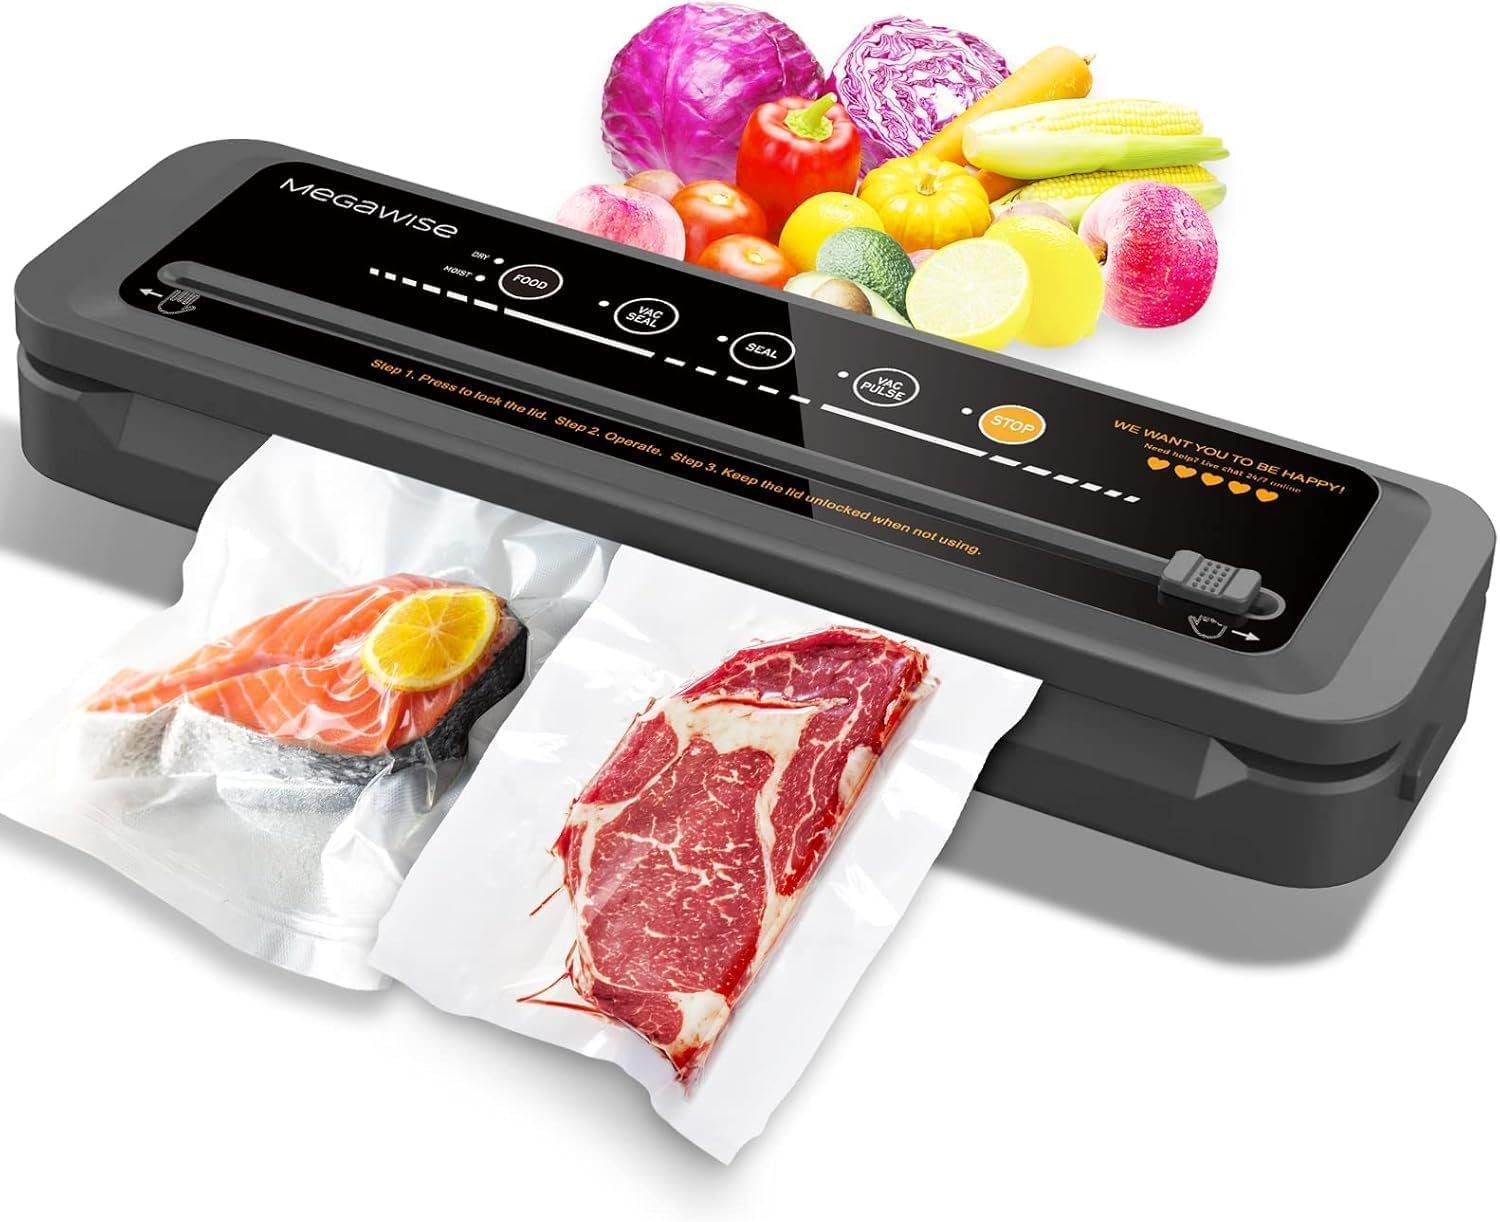
MegaWise Vacuum Sealer Machine (80 kPa)
The lowest price tier in this group, with the settings the steps below call for. MegaWise lists 80 kPa of suction, a moist mode and a pulse button for soft foods.
- Lowest price tier
- Moist mode
- Pulse control
- Check bag width on the listing
- Rest it between seals
How to Use a Vacuum Sealer in 7 Steps
- Cut the bag with room to spare. Leave at least 3 inches between the food and the top of the bag, plus 1 inch for every time you plan to reseal it. With a roll, seal one end first.
- Prep the food. Pre-freeze raw meat and fish for 1 to 2 hours, freeze soups and stock solid, and blanch vegetables. Wrap sharp bones in a folded paper towel.
- Keep the open end clean. Wipe it so the seal area is dry and free of crumbs.
- Load the sealer. Lay the open end flat, without wrinkles, in the vacuum channel, and close the lid.
- Pick the setting. Moist for juicy or damp food, dry for dry food. Use pulse, if the sealer has it, to stop before soft food crushes.
- Vacuum and seal. Let the cycle finish, then check that the seal runs straight across with no gaps or wrinkles. Wait about 20 seconds before the next bag.
- Label and store. Write the food and date on the bag, then refrigerate or freeze it.
Steps follow the FoodSaver manual.
Choosing bags? See the best vacuum sealer bags and rolls.
How to Vacuum Seal Food, Food by Food
| Food | Prep before sealing | Tip |
|---|---|---|
| Raw meat and fish | Pre-freeze 1 to 2 hours | Use the moist setting |
| Soups, stews and stock | Freeze solid first | Or use a chamber sealer |
| Vegetables | Blanch, cool and pat dry | Freeze after sealing |
| Berries and soft foods | Pre-freeze on a tray | Use pulse to stop early |
| Bones and sharp edges | Cushion with a folded paper towel | Stops punctures |
| Flour, sugar, rice and pasta | Keep powder off the seal area | Use the dry setting |
| Hard cheese | Cut to the size you use | Store in the fridge |
| Soft cheese | Do not vacuum seal | FoodSaver advises against it |
Pre-freezing, blanching, cushioning and the soft cheese rule are from the FoodSaver manual.
Fixes for Seals That Fail
| Problem | Likely cause | Fix |
|---|---|---|
| Bag will not seal, or the seal wrinkles | Moisture or food on the seal area | Cut off the seal, wipe the bag dry and reseal |
| Liquid pulled toward the sealer | Wet food that was not pre-frozen | Pre-freeze 1 to 2 hours, or use a chamber sealer |
| Bag loses its vacuum in the freezer | A sharp edge punctured it | Cushion with a paper towel and reseal in a new bag |
| Soft food crushed | Full vacuum on delicate food | Pre-freeze it, or use pulse |
| Weak seals after several bags | Sealer running hot | Wait about 20 seconds between seals |
What a Vacuum Sealer Does Not Do
Not a fridge
Perishable food still needs the fridge or freezer, FoodSaver says.
Not canning
Oregon State University Extension says it does not replace canning.
Not for the counter
C. botulinum can grow without oxygen in moist, low-acid foods at room temperature.
Fridge temperature
Keep sealed perishables at 38 to 40°F.
Two hours, tops
No more than 2 hours above 40°F.
Thaw in the fridge
Thaw sealed food under refrigeration.
From Oregon State University Extension and FoodSaver.
How long each food keeps: see how long vacuum sealed food lasts.
Tips for Better Seals
Five habits.
Label everything
Food and date, before it goes in the freezer.
Freeze flat
Flat bags stack neatly in the freezer.
Save an inch
Add 1 inch of bag for every reseal you plan.
Rest the sealer
About 20 seconds between bags.
Keep it dry
A clean, dry seal area seals best.
More freezer and storage guides: how long food lasts in the freezer, freezer meals for one, how to defrost a freezer and home freeze dryers.
How to Use a Vacuum Sealer FAQs
How do you use a vacuum sealer?▼
Put the food in a bag with at least 3 inches to spare, lay the open end flat in the sealer, pick moist or dry, then vacuum and seal. Label it and refrigerate or freeze it.
Do you need to freeze meat before vacuum sealing?▼
It helps. FoodSaver suggests pre-freezing meat and fish for 1 to 2 hours so the juices stay in the bag.
How much room should you leave in a vacuum sealer bag?▼
At least 3 inches above the food, plus 1 inch for each time you plan to reseal it, per FoodSaver.
Can you vacuum seal liquids?▼
Freeze them first, or use a chamber sealer like the Avid Armor USV20, which handles soups and marinades.
Can you vacuum seal vegetables?▼
Yes, blanched. FoodSaver says to blanch vegetables before sealing them.
Why won’t a vacuum sealer seal?▼
Usually moisture or crumbs on the seal area. Cut off the seal, wipe the bag dry and reseal, and wait about 20 seconds between seals.
Does vacuum sealing replace the fridge?▼
No. Perishable food still needs refrigeration or freezing. Oregon State University Extension notes that C. botulinum can grow without oxygen in moist, low-acid foods at room temperature.
Can you vacuum seal cheese?▼
Hard cheese, yes. FoodSaver says never to vacuum seal soft cheese.
The Bottom Line
- Steps: 3 inches of bag to spare, pre-freeze wet food, moist or dry setting, seal, label, then fridge or freezer.
- Picks: the FoodSaver V4400 for hands-off sealing, the Avid Armor USV20 for soups, and the MegaWise Vacuum Sealer in the lowest price tier.
- Remember: a sealer does not replace the fridge or freezer.
Room in the bag, a dry seal area, and cold storage.